Posts Tagged ‘crafty things’
Dahlia
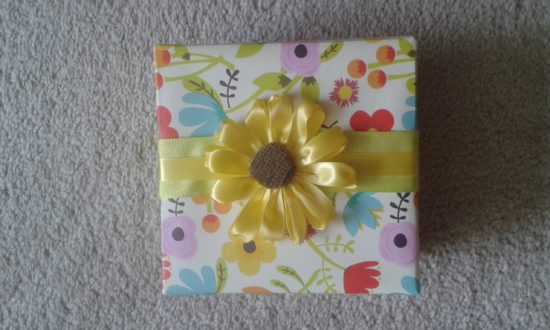
Black-eyed Susan
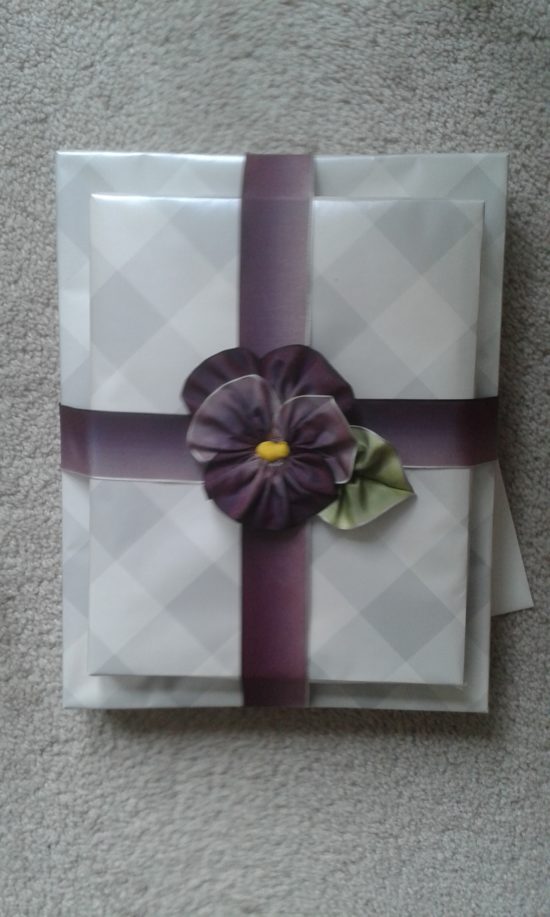
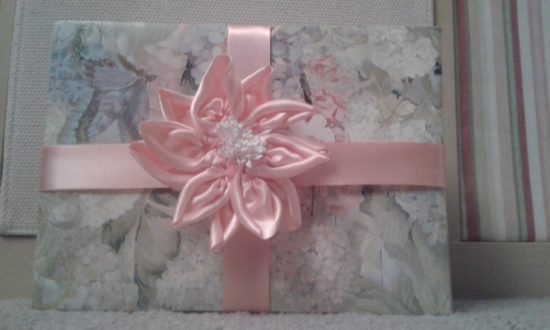
Pansy
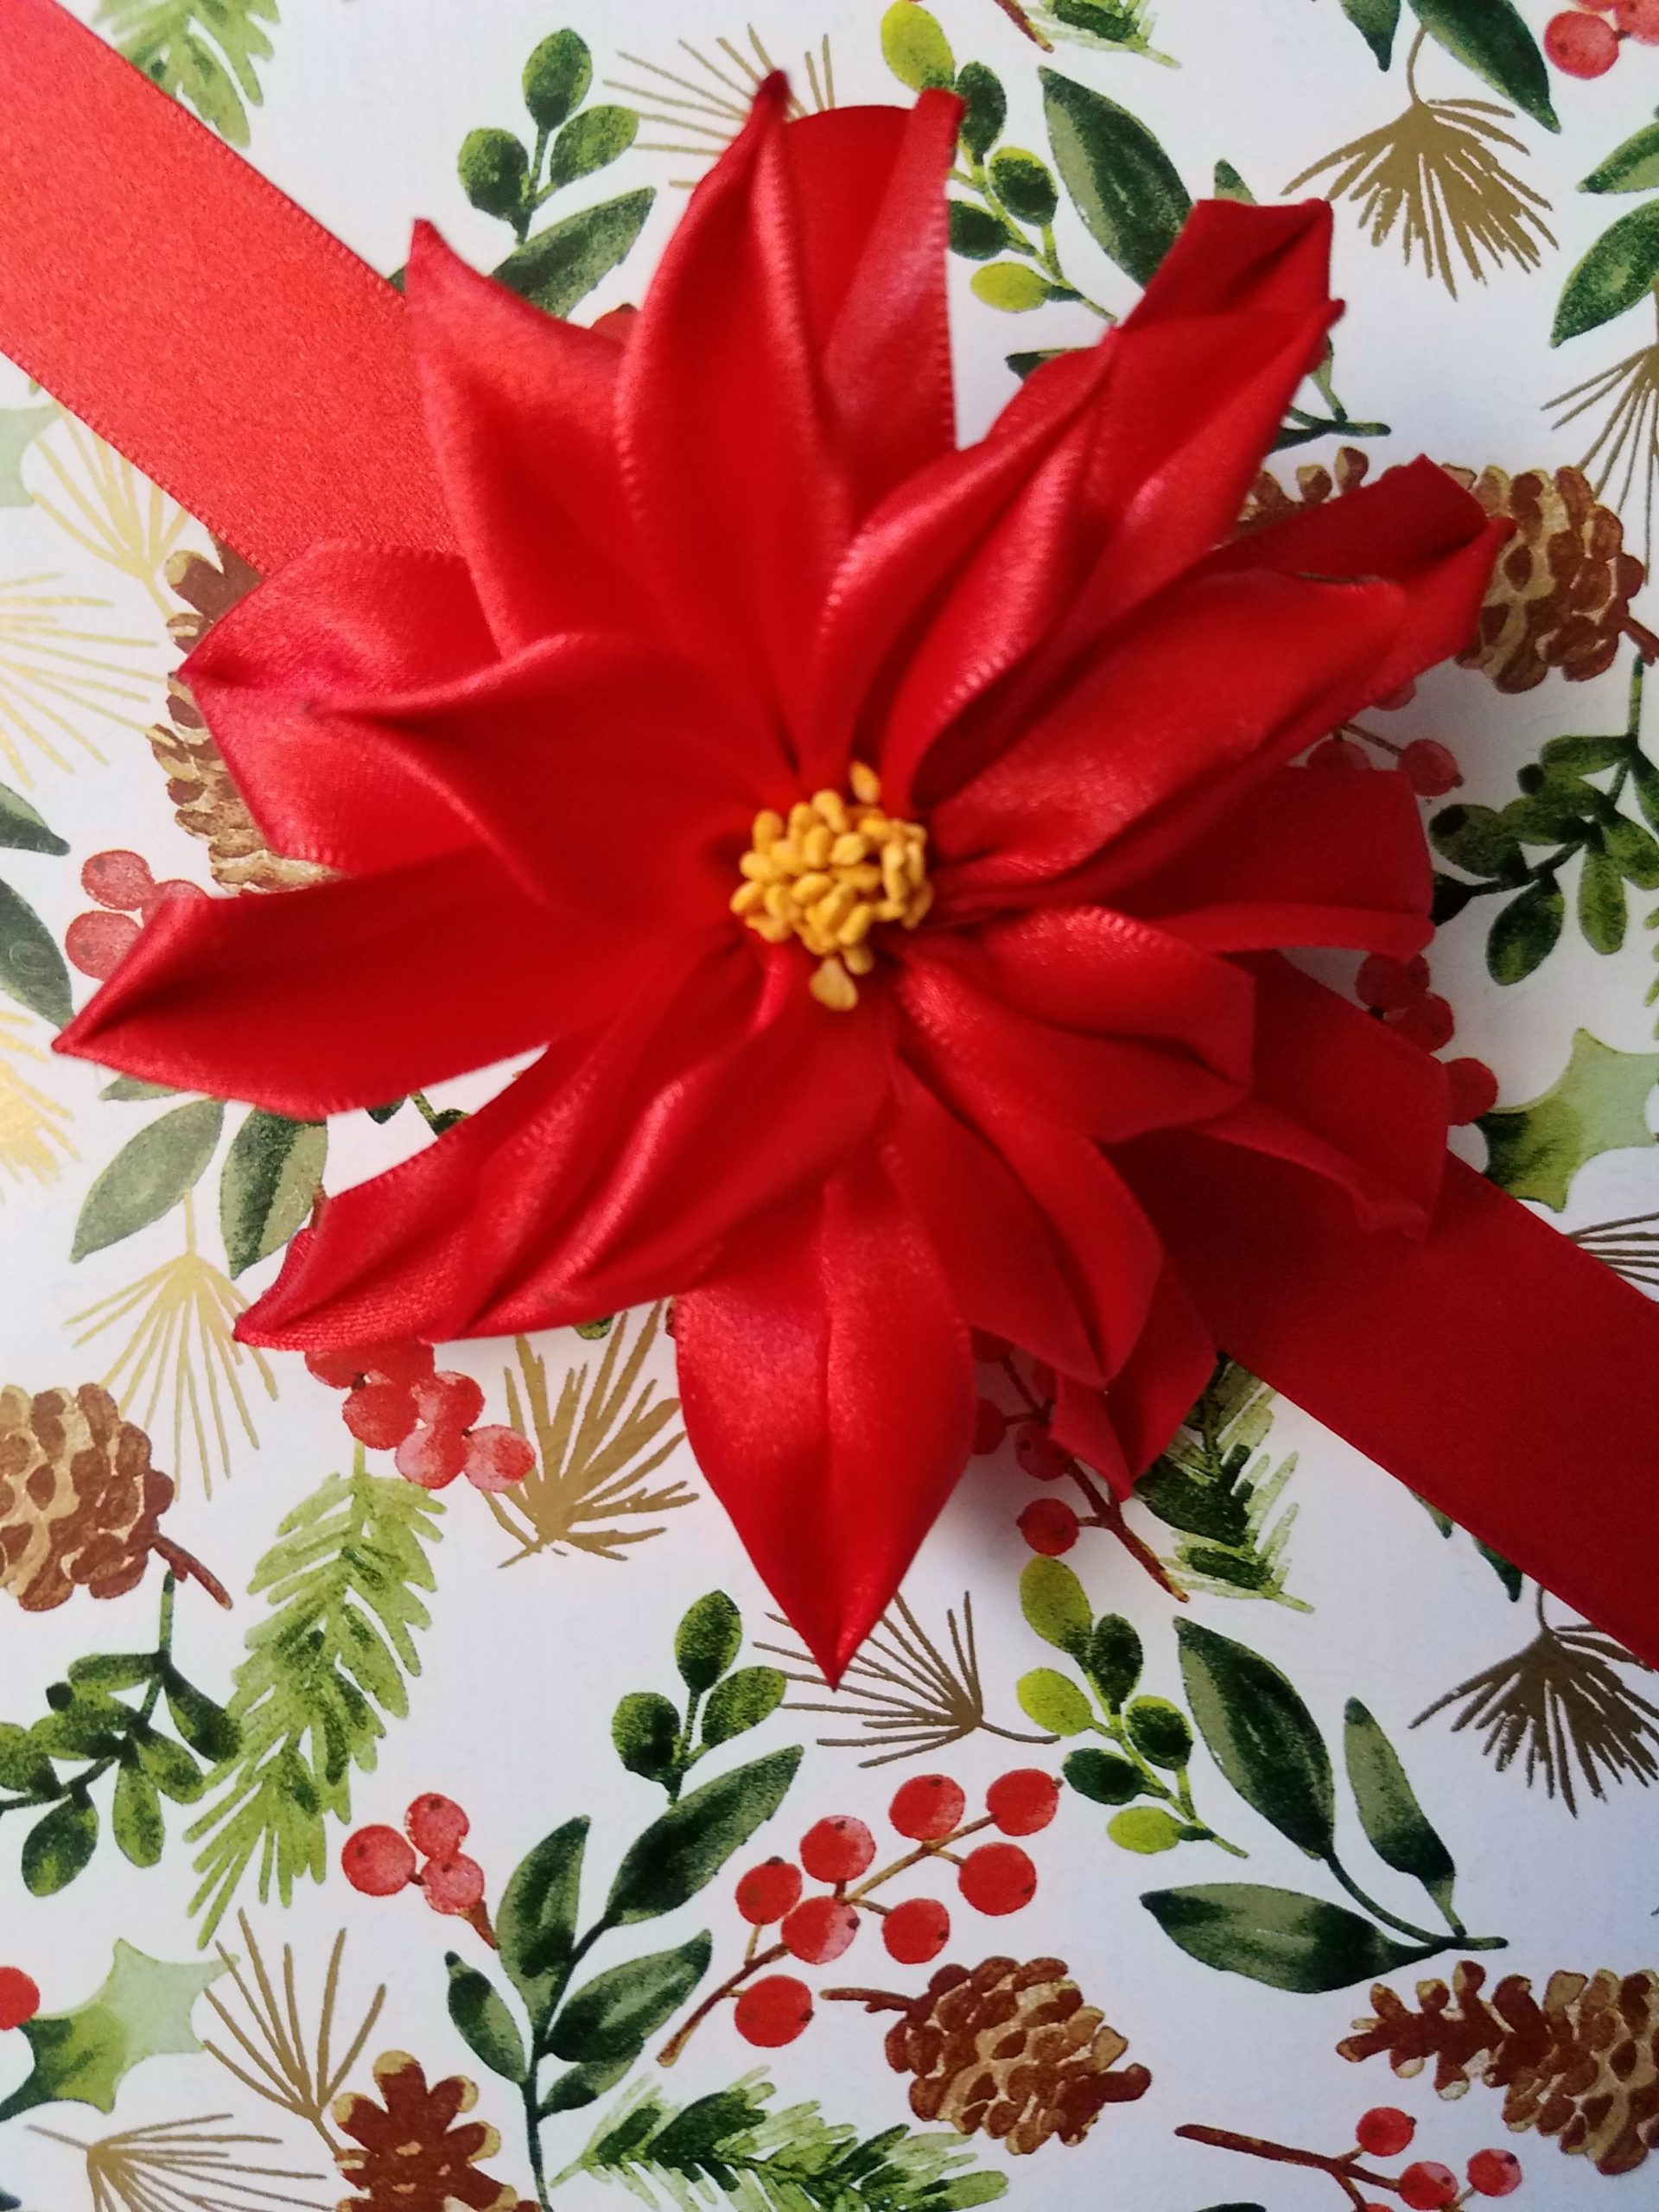
NEW ADDITION DECEMBER 2019: Poinsettia
Made for my friend Sheryl’s bday (size is 6″ x 6″):
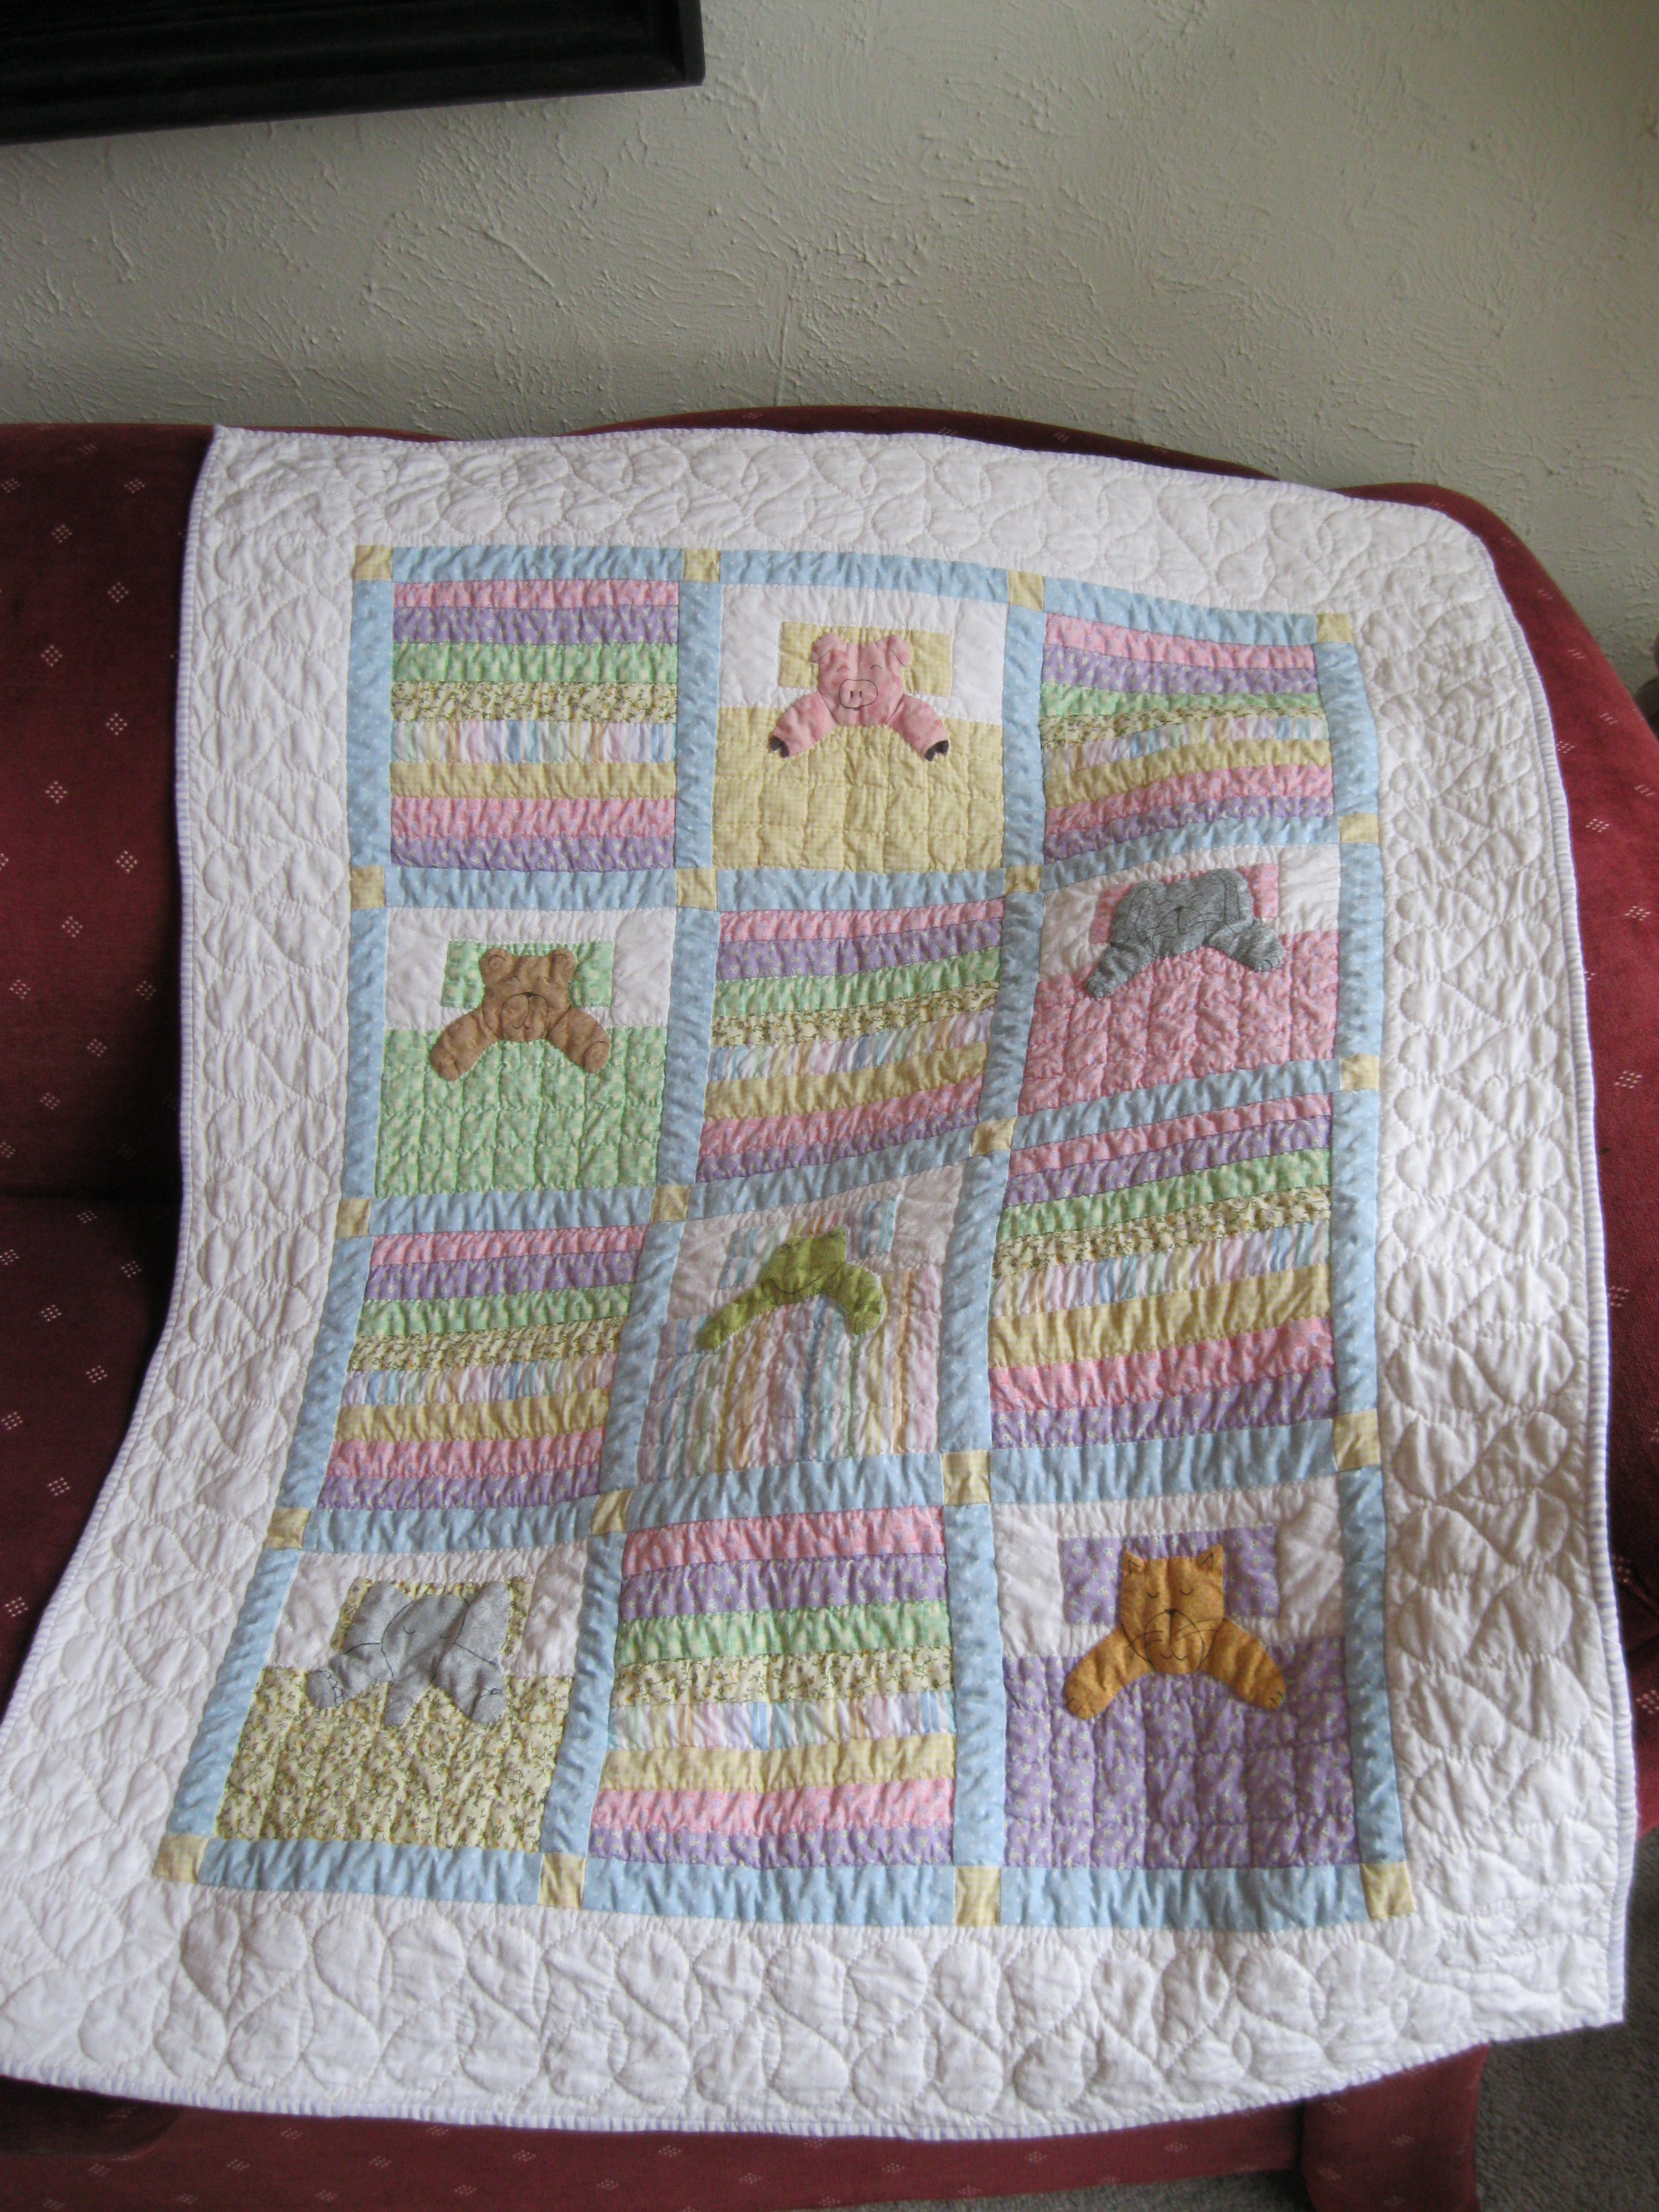
finished quilt
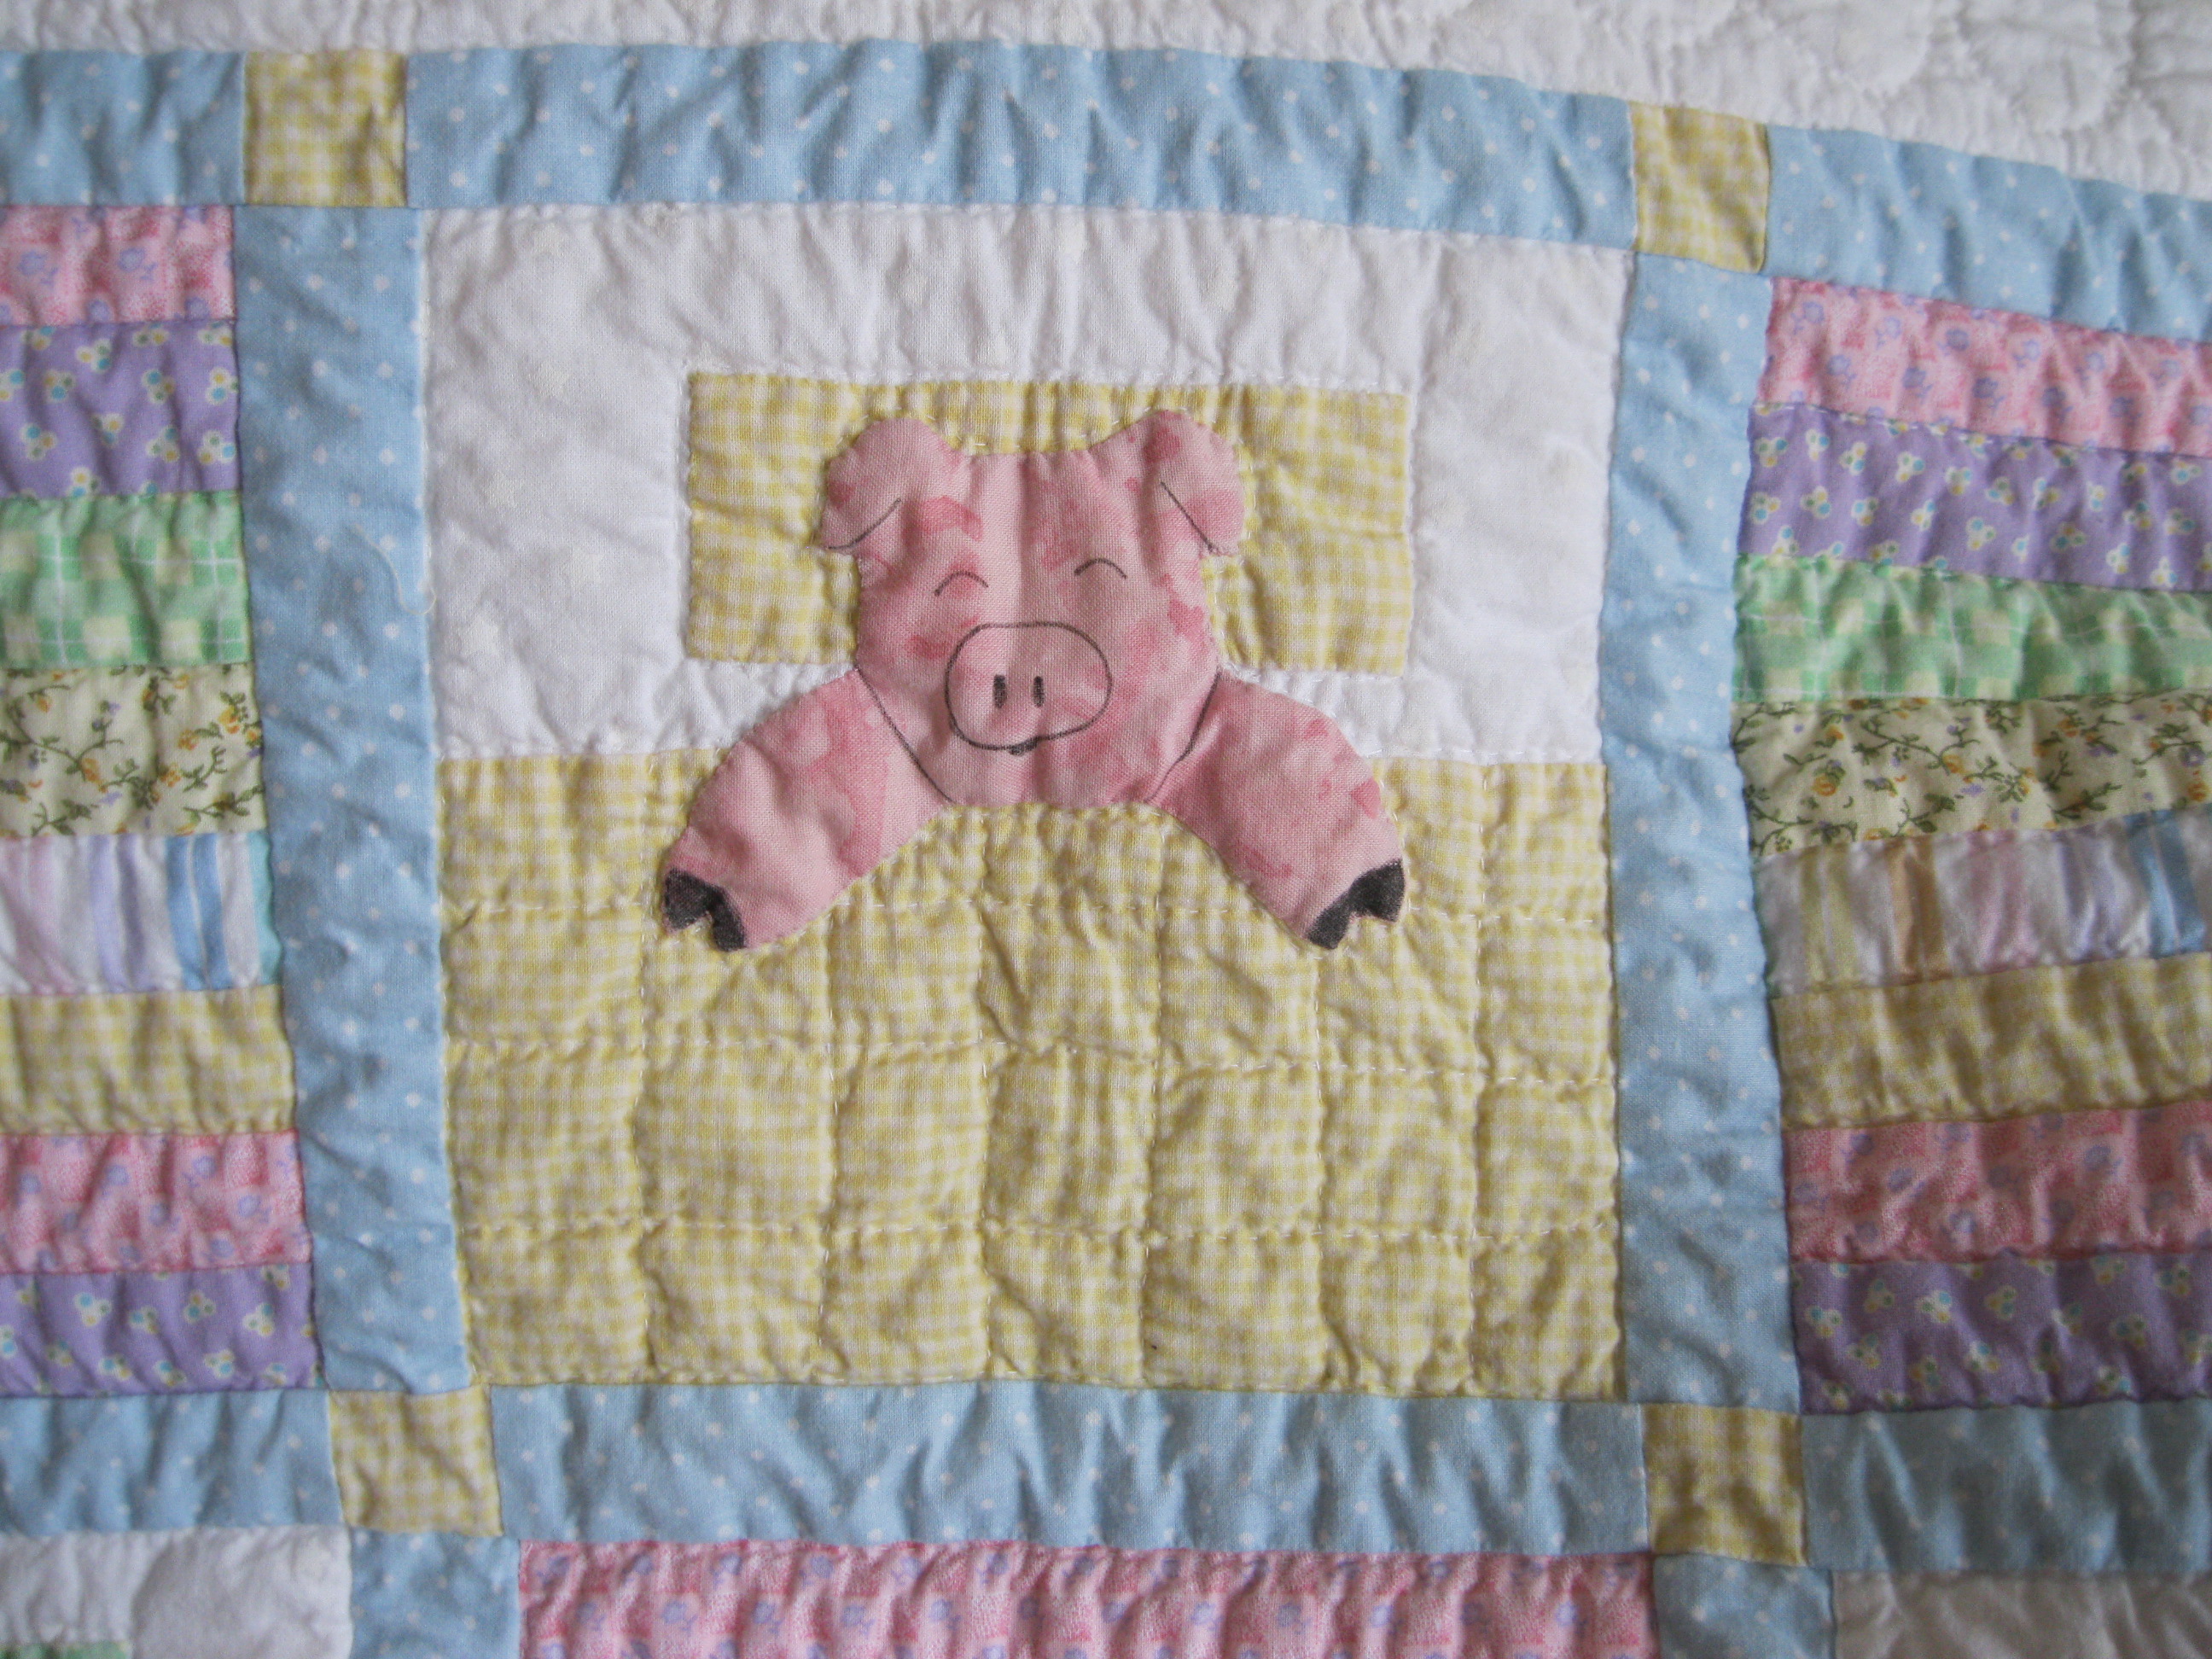
pig block
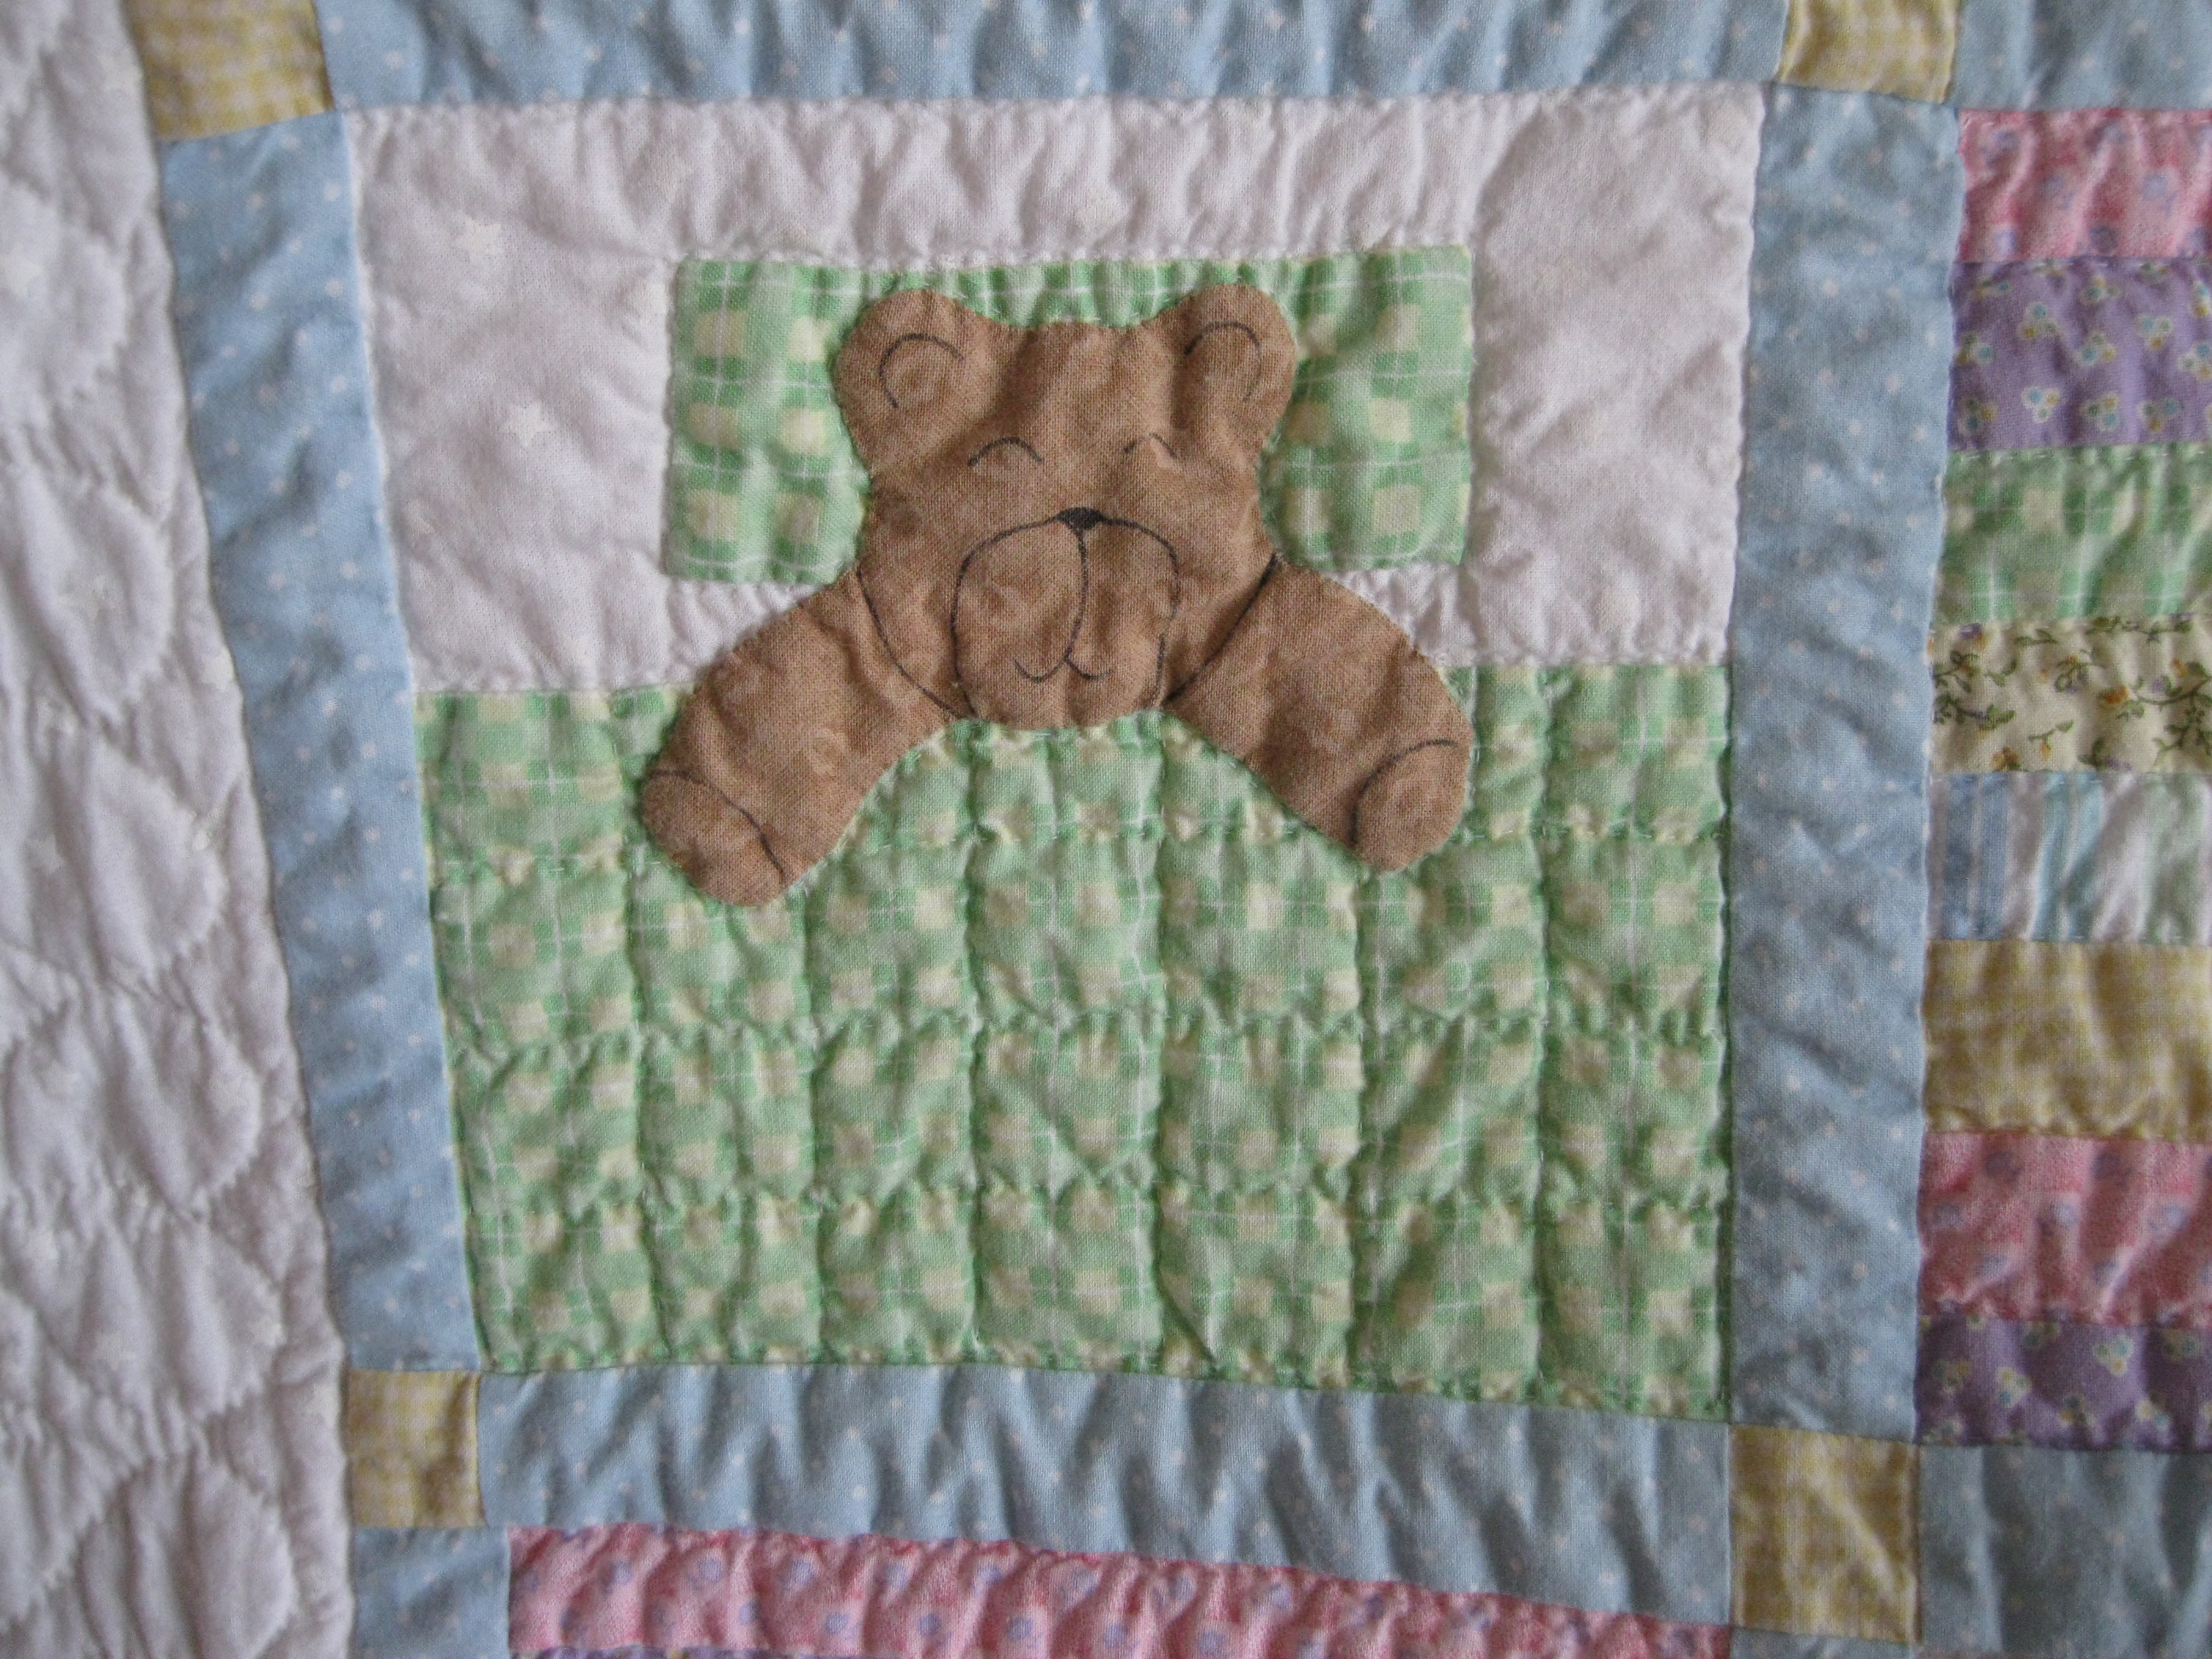
bear block
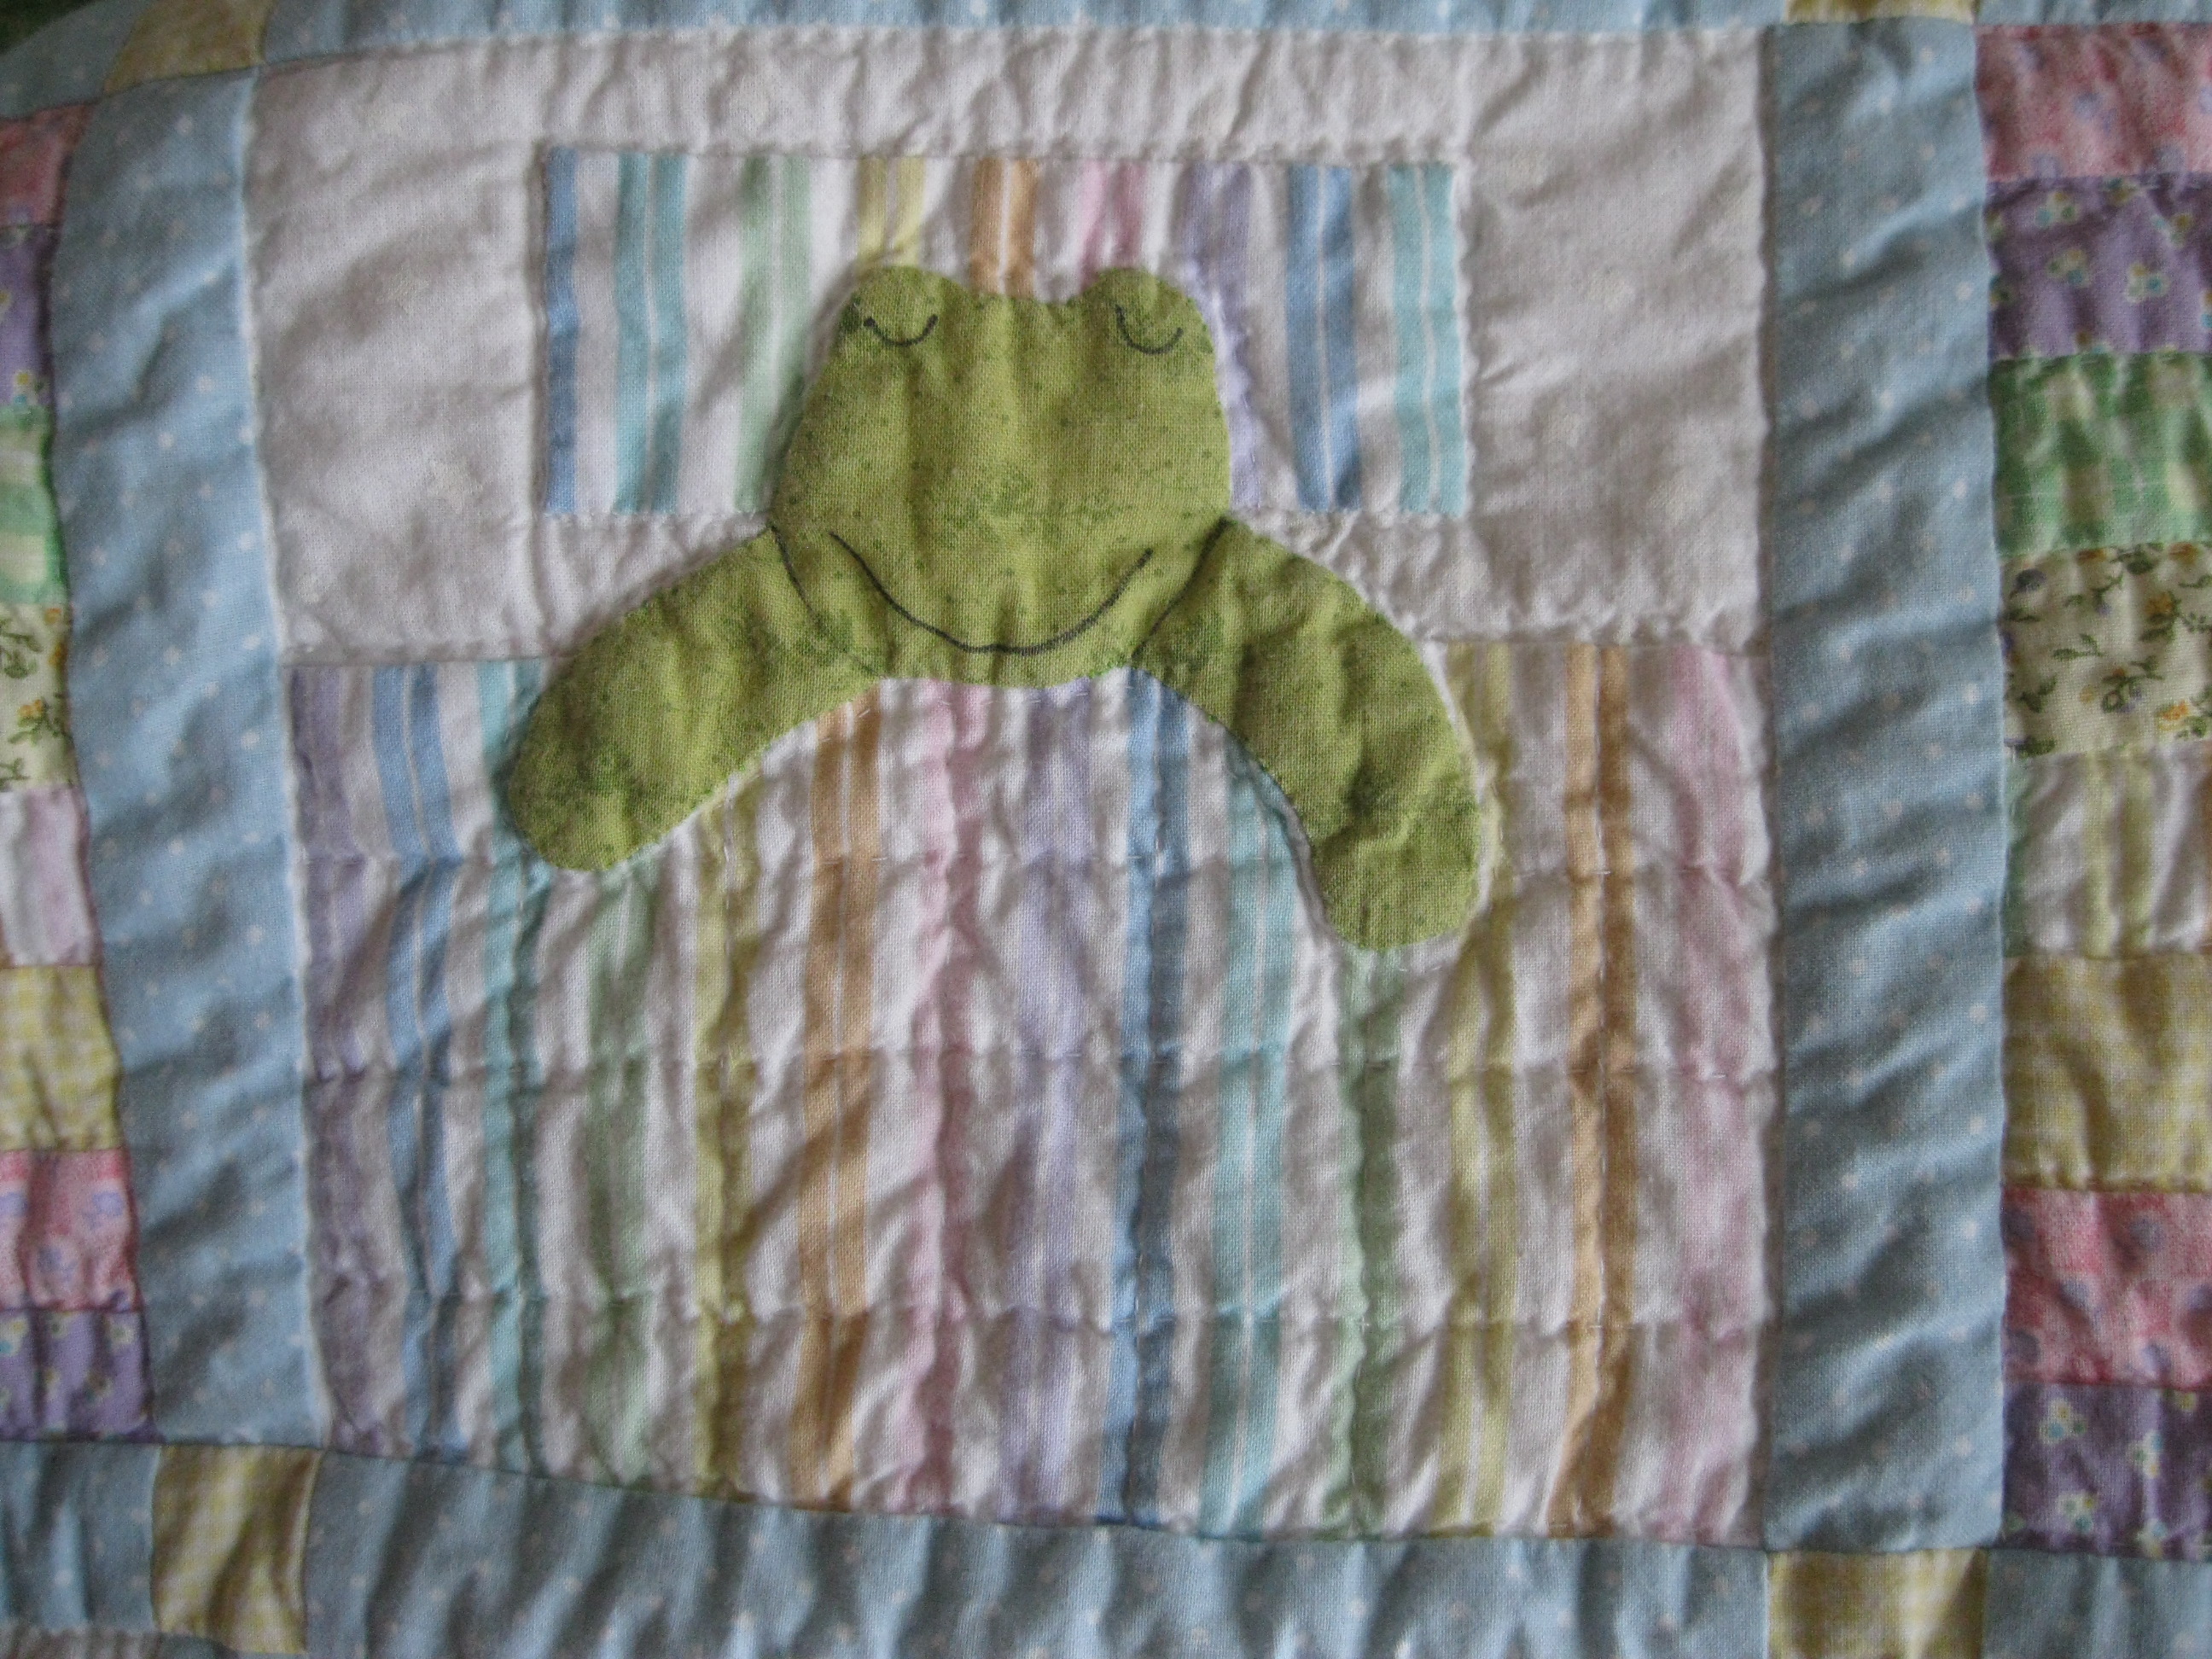
frog block
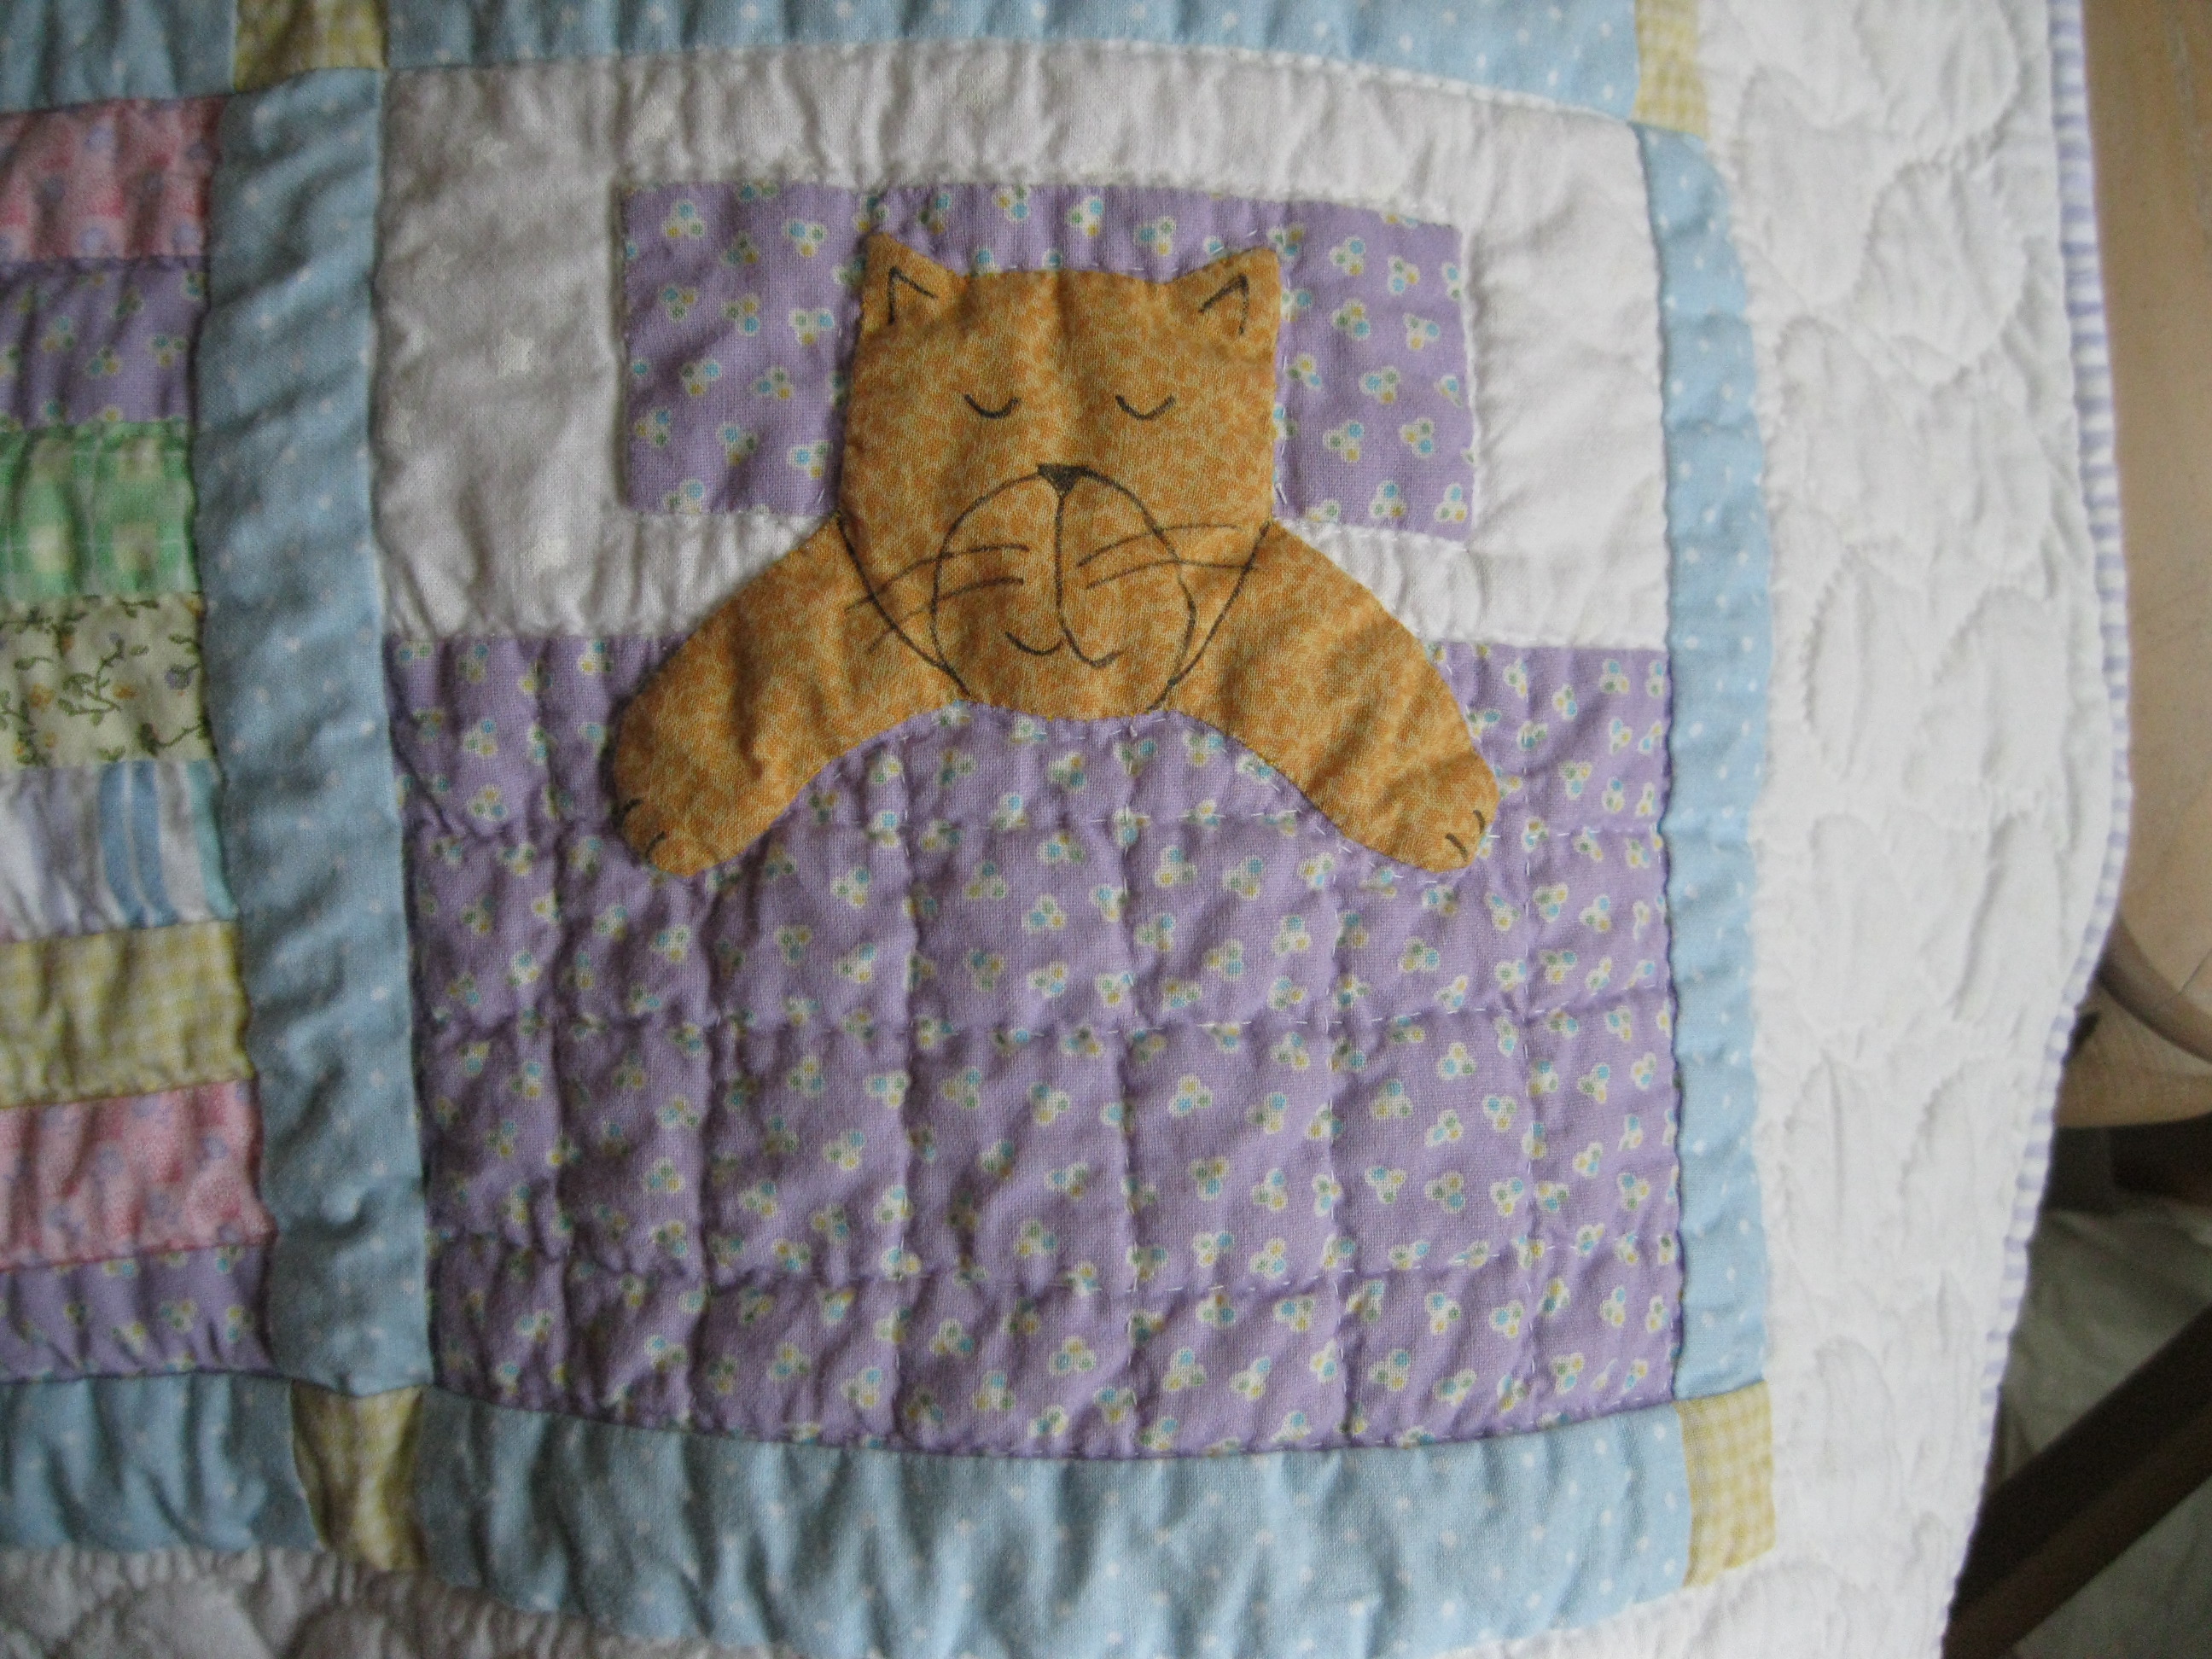
cat block
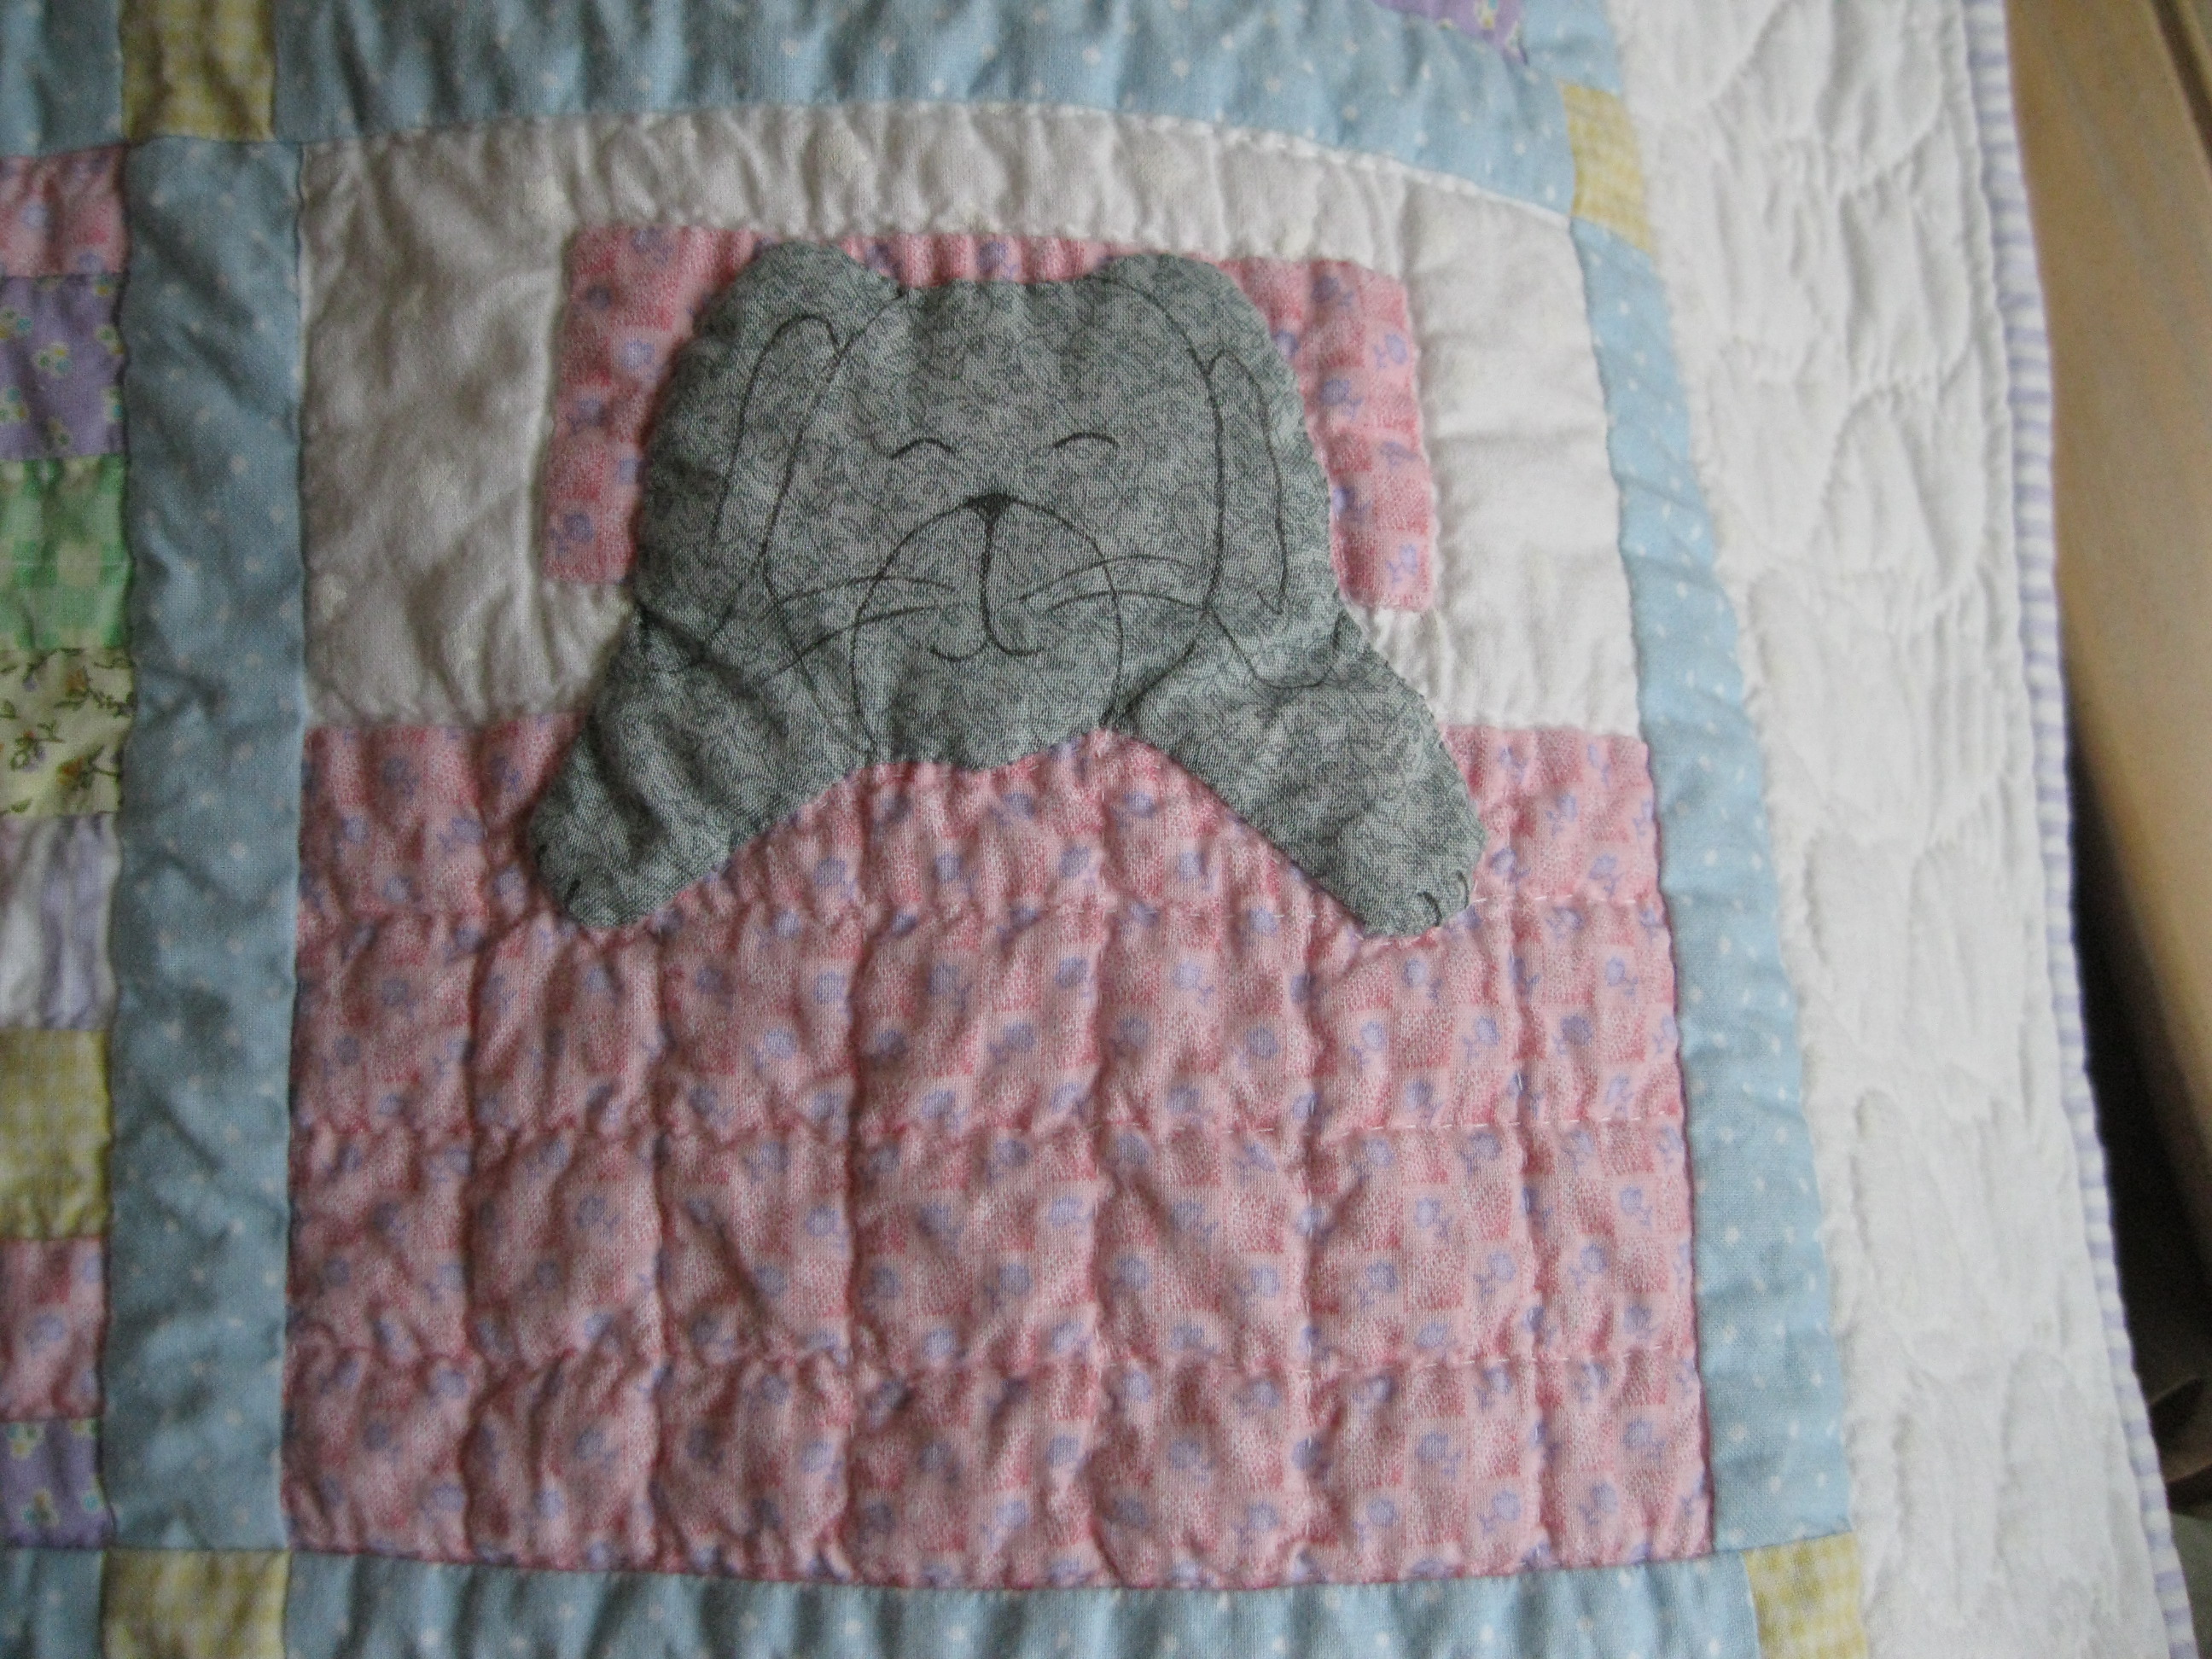
bunny block
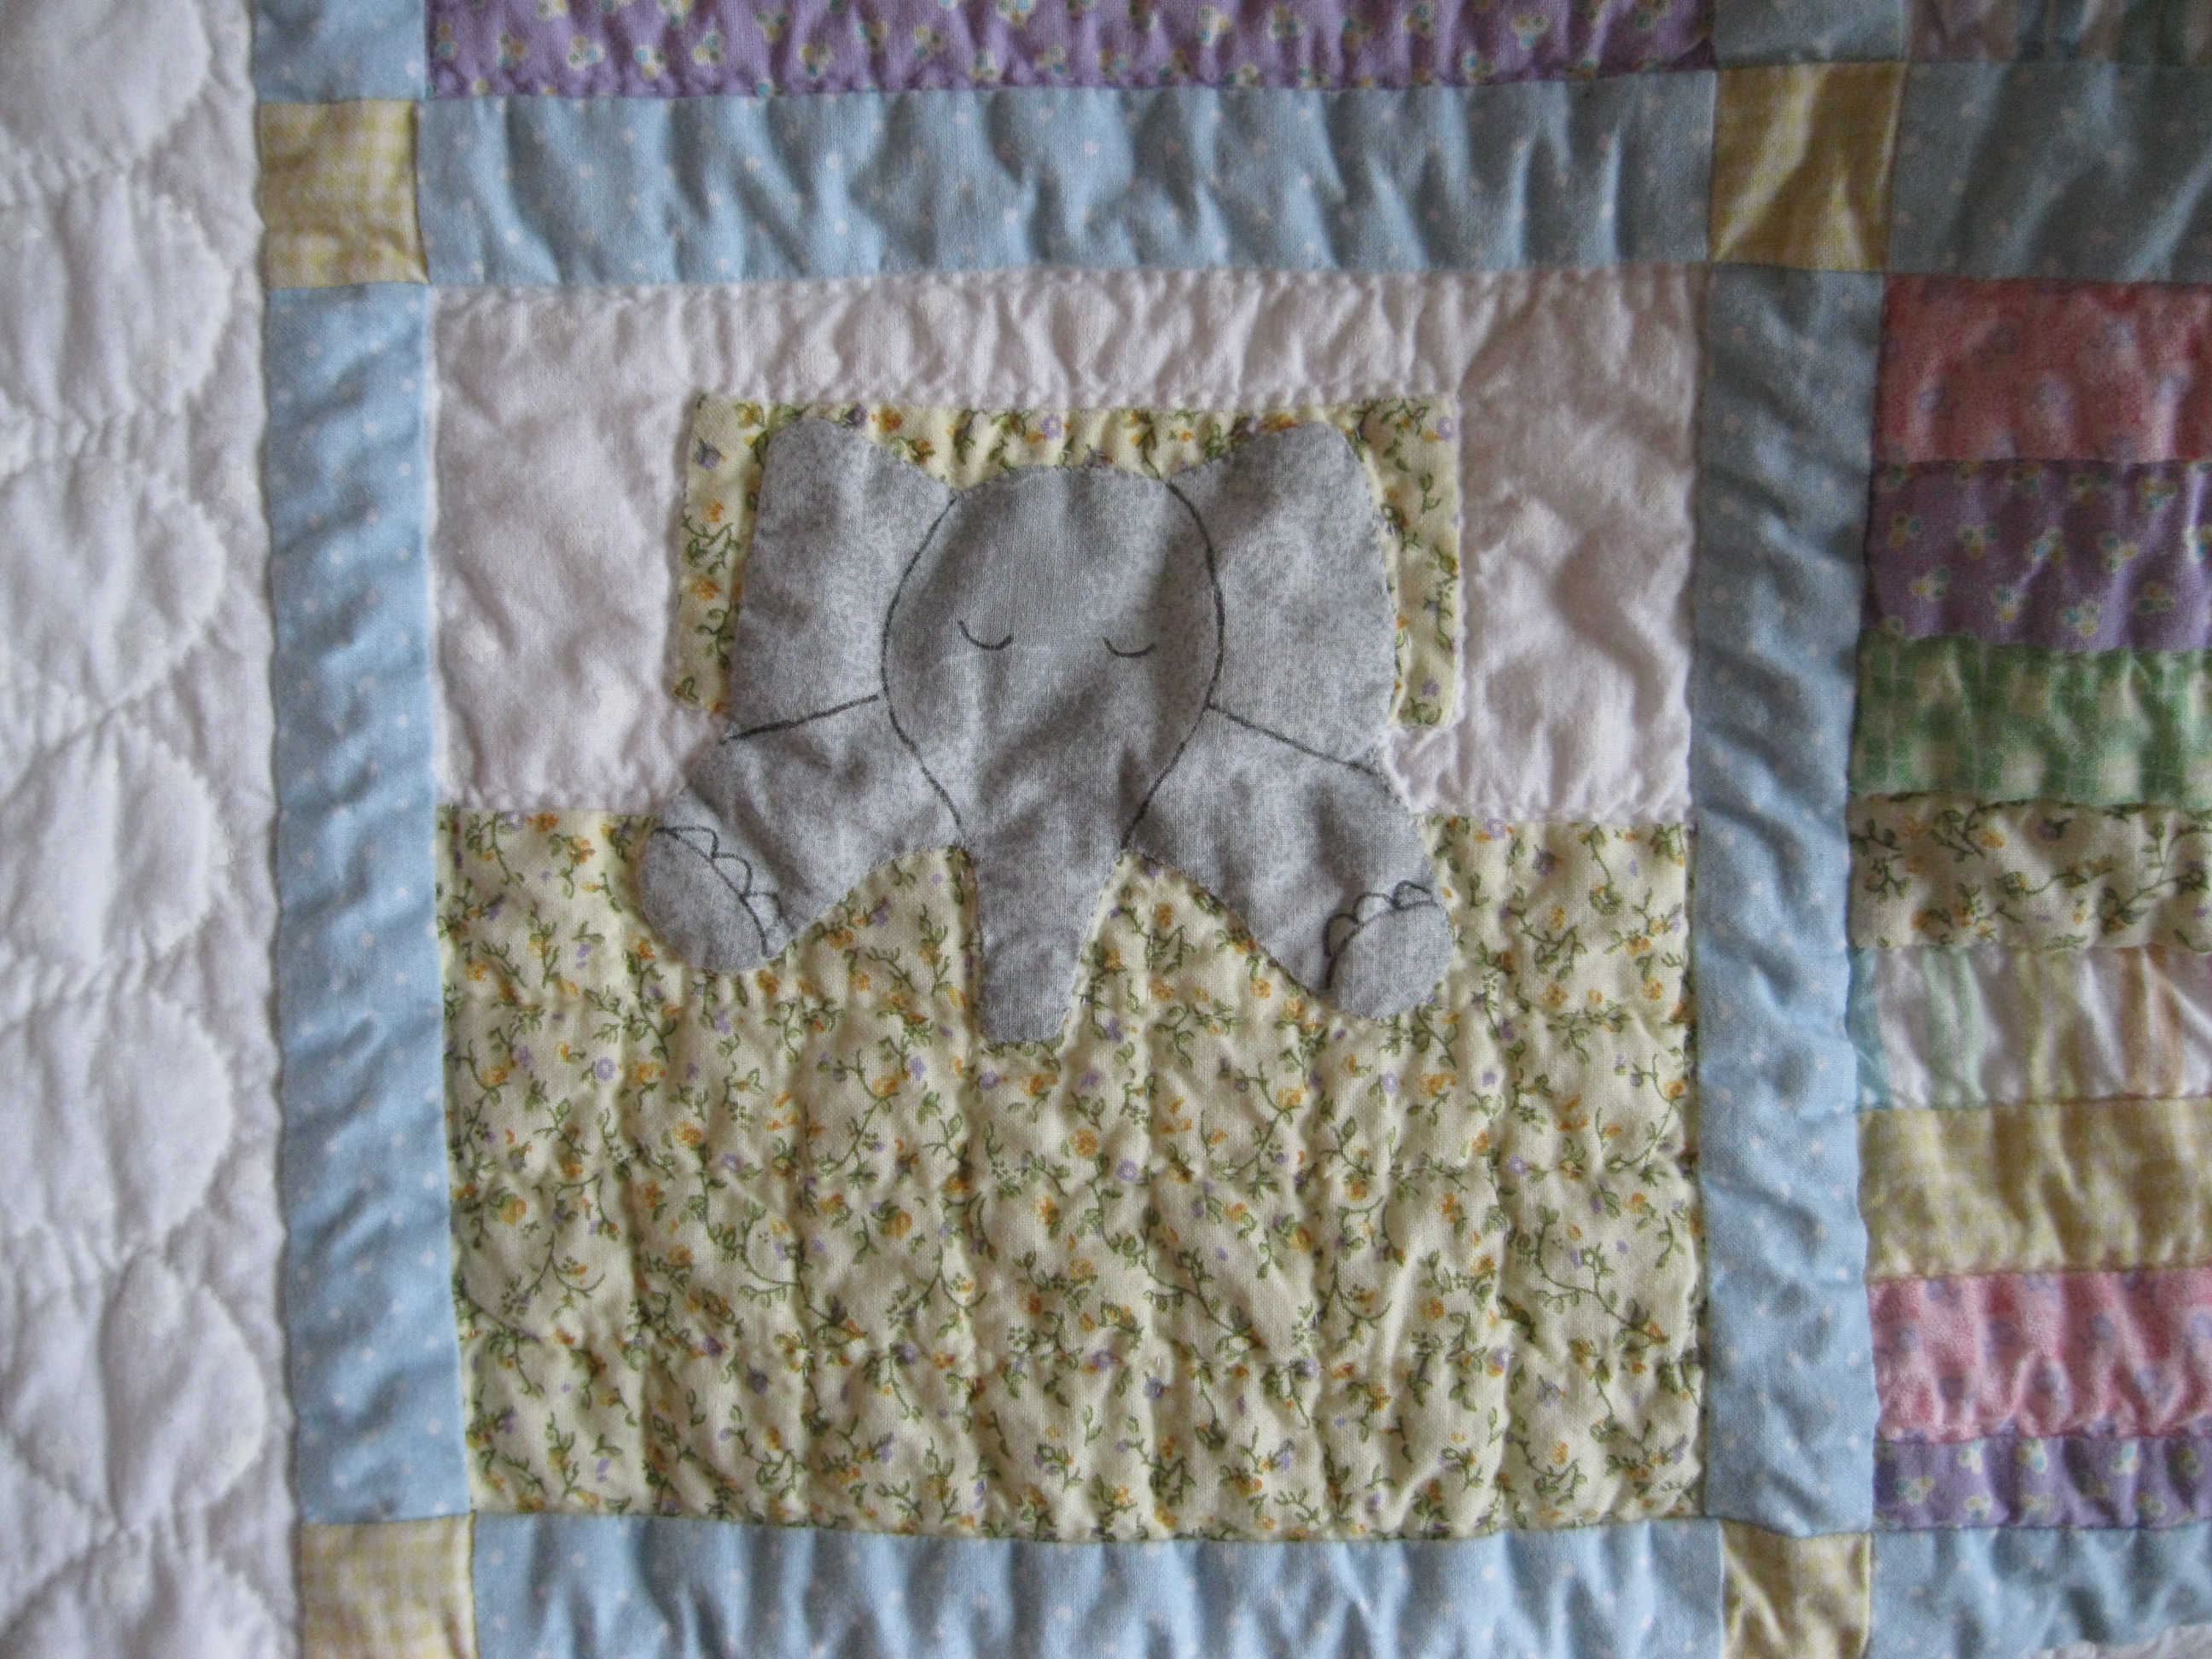
elephant block
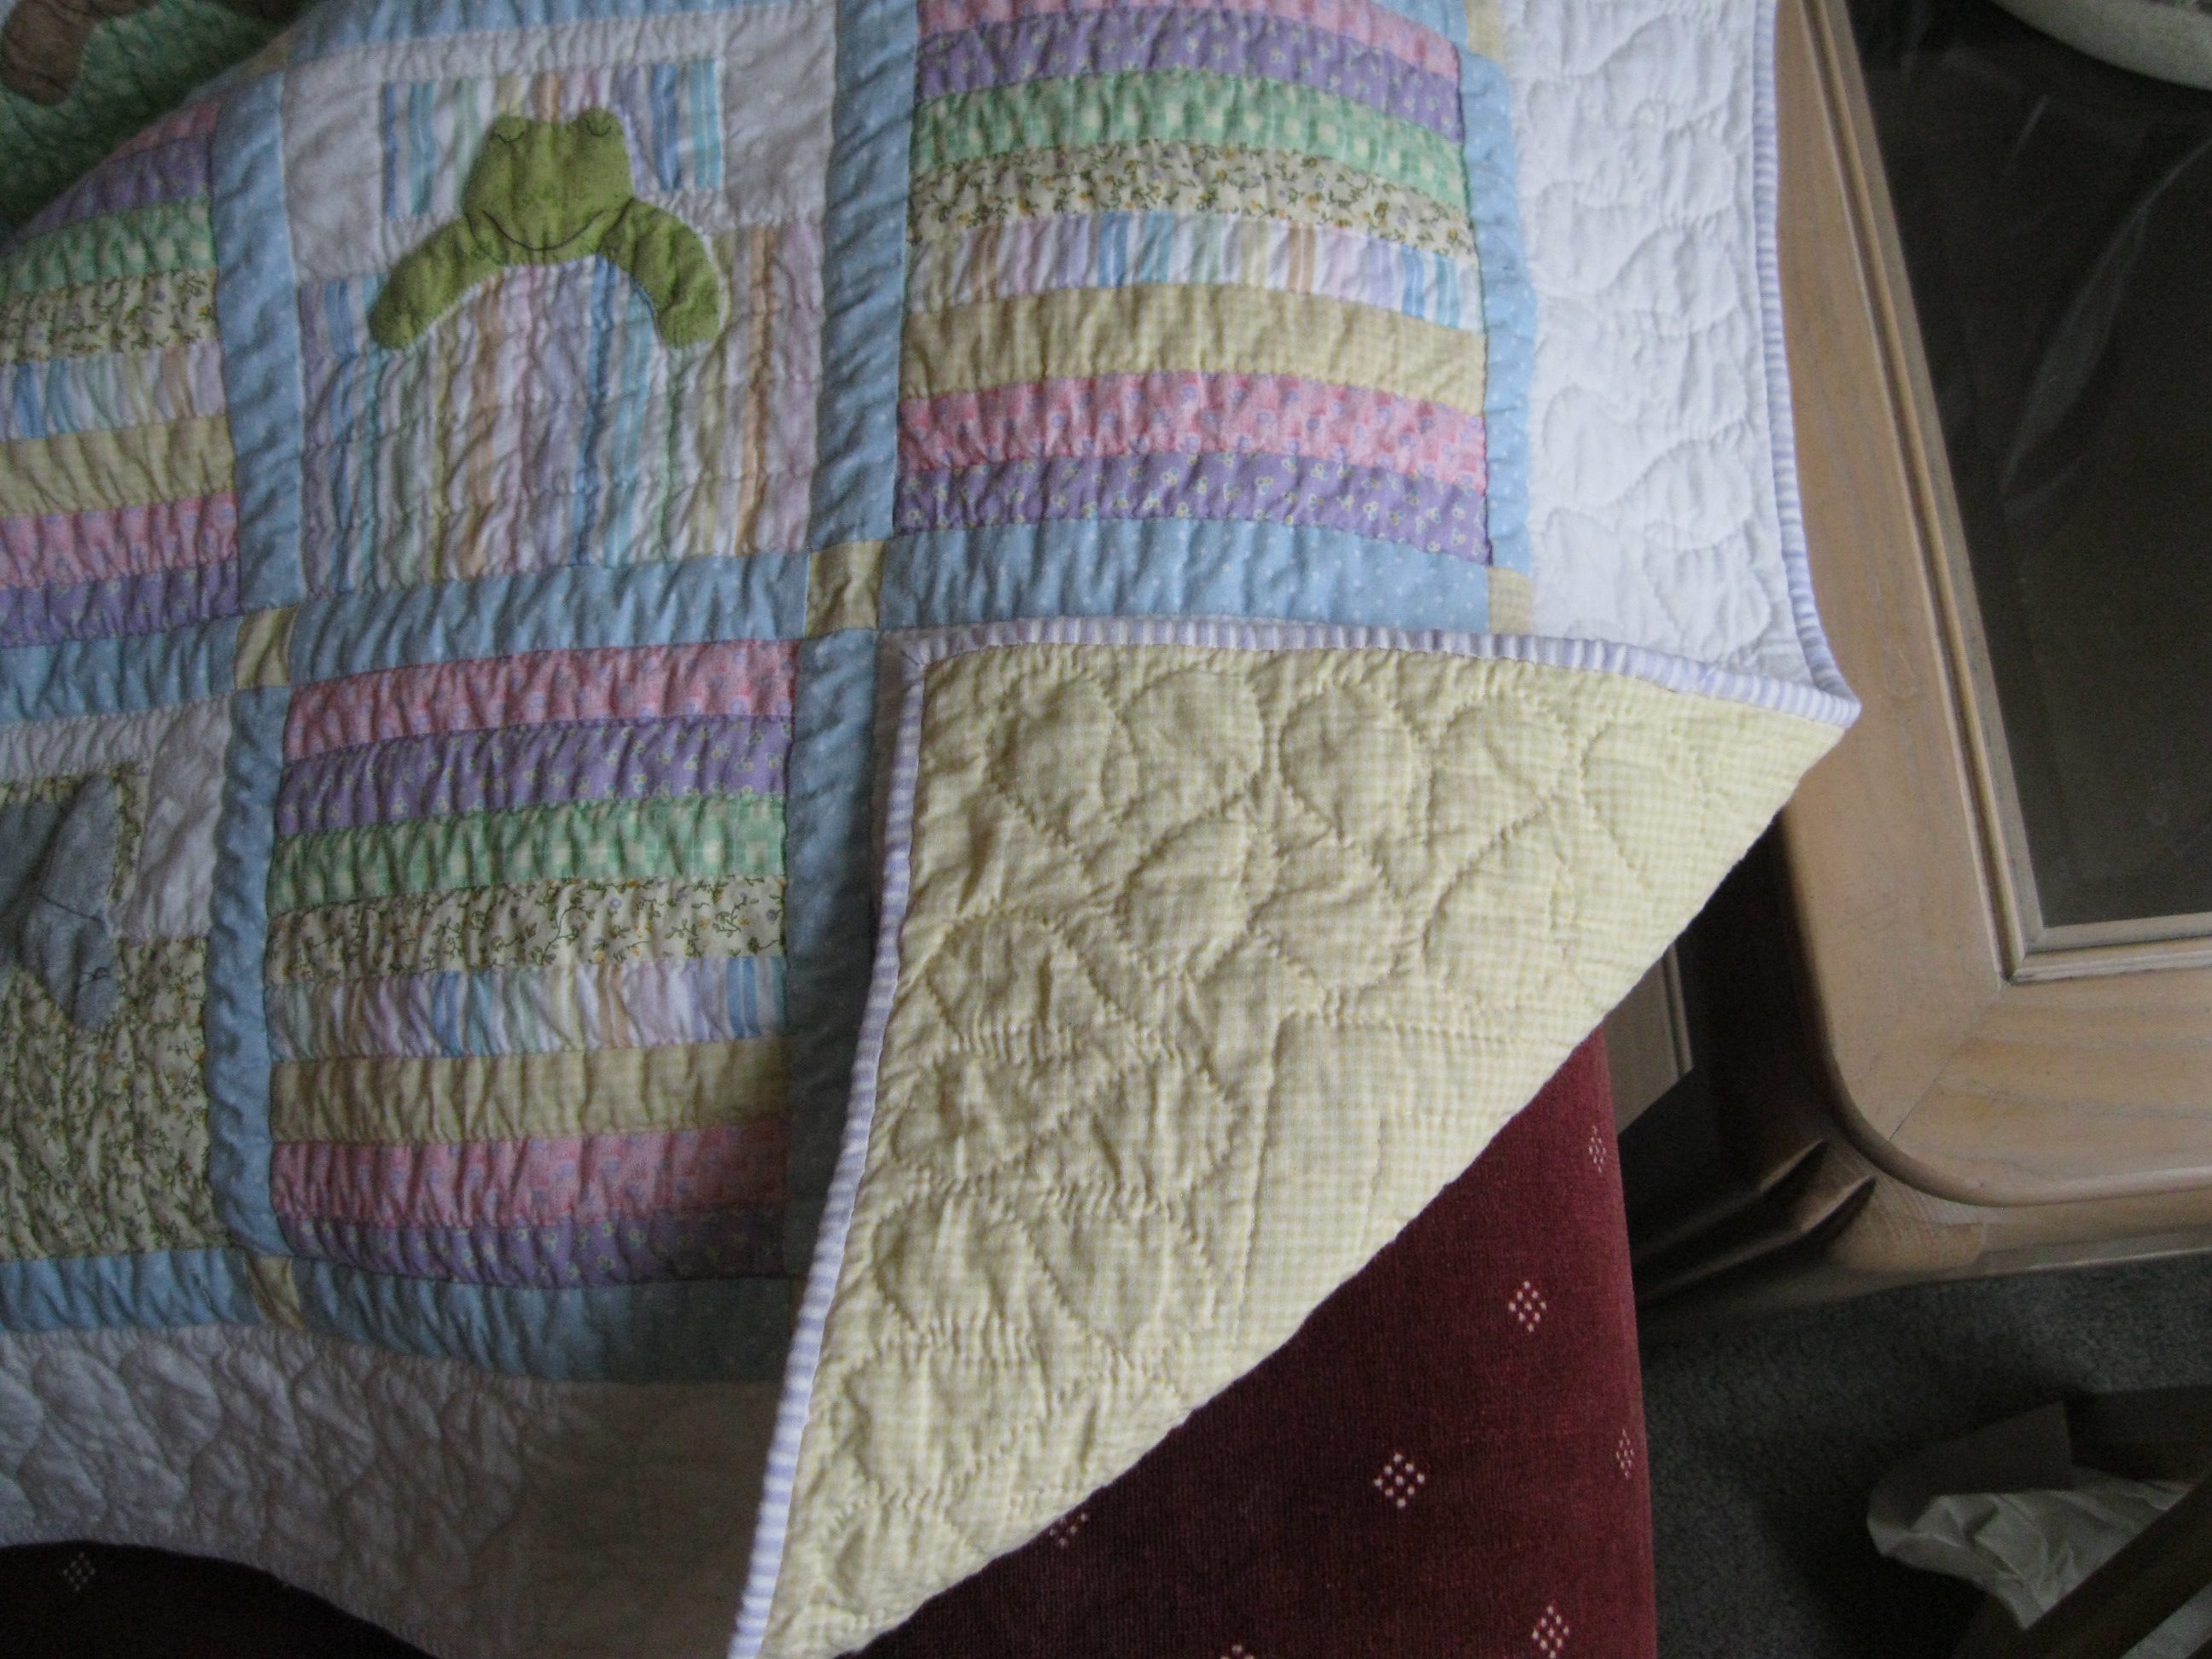
backing
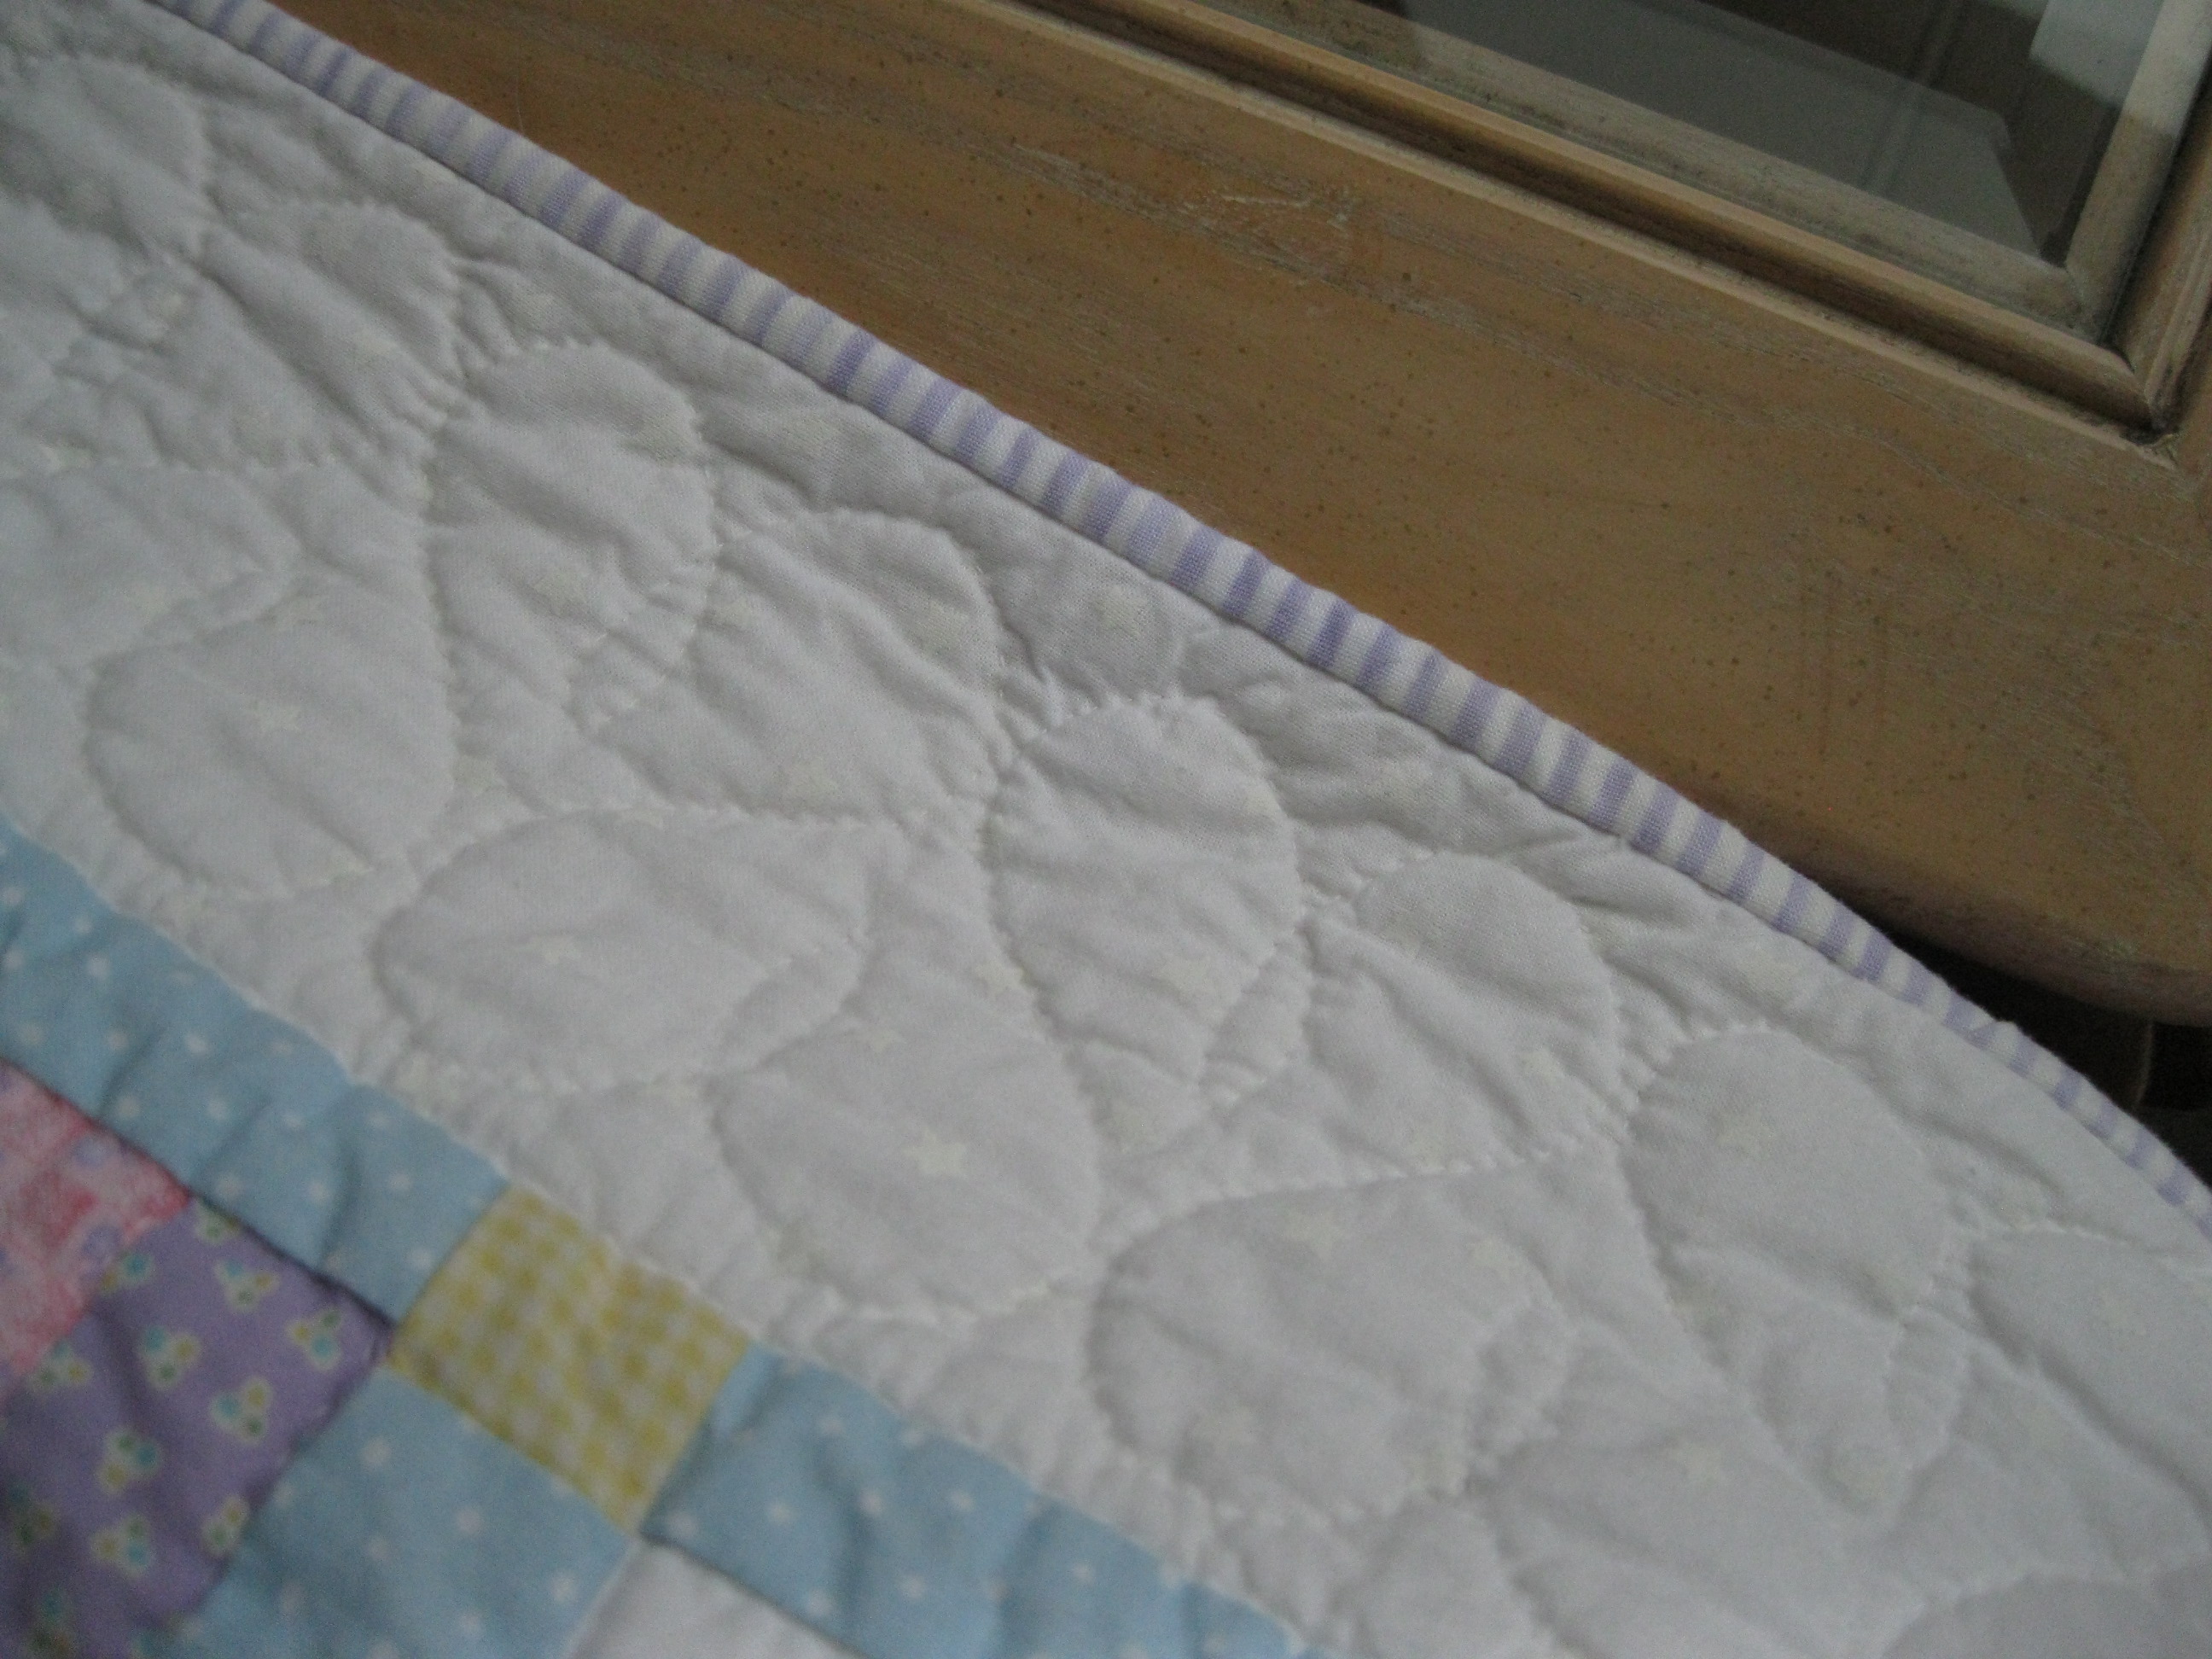
quilting detail
Once again my fellow Minnesotans did not disappoint in their creative and artistic endeavors. Saw lots of great stuff. These are just a few (chosen mainly for their humor).

In the Fine Arts Building: “Rama Llama Ding Dong”

In the Creative Activities Building: The Hula Hamster Band with guest DJ M.C. Hamster

In the Horticulture/Agriculture Building: a tree house carved from beeswax
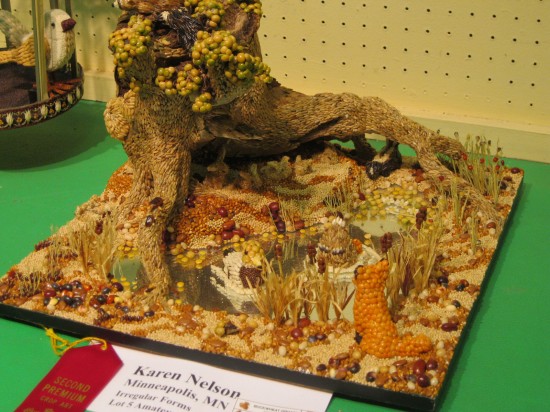
Seed art diarama

…and a closeup

More seed art…

…and another closeup

Awesome entry in the scarecrow contest!
Fun was had, mini donuts and fried cheese curds were eaten, and I’m plum worn out. Can’t wait to do it again next year!

I helped with a mural for a nursery this past weekend.
The mum-to-be is a high school science teacher. She wanted to feature famous scientists she admired, done in caricature style. The models are based on a variety of sources I found online.

From left to right: Copernicus (astronomer), Neil deGrasse Tyson (astro-physicist), Ada Byron King (also known as Ada Lovelace) (mathematician and possibly the first computer programmer), Albert Einstein (theoretical physicist), Sir Issac Newton (physicist), Charles Darwin (biologist/naturalist).
It is actually more of a painting than a mural, painted on four foot by five foot canvas (more portable than had we painted on the wall).
Okay, last tutorial for the home dec project. This one’s super easy…
I wanted a magnet board to hang by my desk. I thought I could pick up a cheap one at Ikea. Well I could…but the size I wanted was BRIGHT ORANGE! Meet the SPONTAN:

So I covered it in fabric.
Steps:
1. Lay magnet board on fabric. Cut fabric an inch or so larger than magnet board all the way around.

2. Use duct tape to affix fabric to board. (I happened to have navy blue from a previous project.) This is the lazy man’s way out, but it works and doesn’t show…

3. That’s it.

I also covered a pencil cup with this same fabric (I don’t have a photo), but I used fabric glue on that one, not duct tape.
Caveat: I’ve found that with the fabric on the board, it is not super magnetic any more. I can stick up papers and other light-weight things (even a calculator), but heavier objects just slide off. Even my pencil cup needed a “helper magnet” underneath.
If I were to do this again, I think I’d use coordinating gift wrap instead. Though it would be less durable, I don’t think it would interfere with the magnetism as much.
Okay, so there don’t seem to be any cute hanging file solutions that fit the Ikea Expedit. Sure you could get a drawer insert or insert with door, but a) you’d still need some type of hardware for the hanging files, b) they’re EXPENSIVE! and c) they don’t come to match the birch finish.
What I wanted was something that matched my decor, was cheap, and was easy. Enter the “DIY File Drawer”.

I’m a big fan of banker’s boxes. They’re a handy size and cheap. Bonus that they fit files. For my project I choose the [IN]PLACE brand banker’s boxes from OfficeMax because they had easy glide file rails (for letter size hanging files) built in and I could get a pack of less than a dozen (they come 6 to a pack).
** UPDATE: Office Max no longer seems to carry the [IN]Place brand bankers boxes. That’s really too bad since they were a great product. I’ve looked for an alternative. The closest I could find was Bankers Box® Hang’N’Stor™ boxes, though they don’t have the plastic rails and are more expensive. You can buy them from Staples, Office Max, or Amazon. **
For each drawer front I used a 13″ x 13″ square of mat board (you could use scrap cardboard).
** UPDATE: It’s one year since I made these…scrap cardboard would have been too flimsy. The mat board is still intact but is starting to bend a bit. **
I cut out a piece of fabric about 1–2″ bigger all the way around (so 15 or 16 inches square). I lay the fabric right-side down on my work surface, and centered the mat board on top of it. Starting with two adjacent corners, I glued the fabric around to the back of the mat board (I used fabric glue). I then glued the corresponding edge fabric too:

Glue the fabric of two adjacent corners and the corresponding edge to the back of the board.
At this point, I placed the drawer front on top of the short end of the banker’s box, centering it horizontally, and lining it up so it was flush along the bottom of the drawer front and the box front.

Center the drawer front horizontally and vertically line it up flush with the bottom of the banker’s box
I then draped the still unglued portion of fabric back over the glued portion so I would have access to the mat board beneath.

Pull loose fabric back to access board
Use an awl or the sharp point of a scissors to bore small holes through the mat board and box front. I spaced these about 1–2 inches in from the inside corners of the banker’s box. Using regular office paper fasteners, I attached the drawer front to the front of the banker’s box. I used small washers on the inside of the box to reduce stress from the paper fasteners on the cardboard.

Affix drawer front to banker’s box with paper fasteners

Place small washers over the paper fasteners before extending the prongs to reduce stress on the cardboard
Glue the fabric at the top corners of the drawer front to the back of the mat board.

Glue the fabric at the top corners of the drawer front to the back of the board
Next, apply glue to the back of the mat board at the sides of the banker’s box.

Apply glue to remaining sides
Then wrap the fabric around the edge and attach. You will likely need to loosen the paper fasteners for this step and it helped me to use a thin pointy object to force the fabric between the back of the mat board and the front of the banker’s box.

Wrap fabric around edge to meet glue; tuck in excess fabric
Now, glue fabric at top of drawer front to back of mat board.

Glue fabric at top of drawer front to back of mat board
I attached a label holder/finger pull as described in an earlier post.

Because of the thickness of the banker’s box cardboard plus the mat board, my mini paper fasteners were barely long enough to go through. I needed to use a scissors to bend back the prongs.
And voilá, my homemade file drawer is finished!

My diy file drawer in all its glory
And here it is with the other containers!

Related post: DIY Magazine Files
When finished covering the magazine files, I decided I wanted combination label holders/finger pulls on the tall spine side of the files to identify the contents and to ease pulling them from the shelf.
I had a difficult time finding label holders that were also finger pulls at a reasonable cost that were narrow enough for the magazine files I had. I finally found some at Paxton hardware. Paxton hardware had a minimum order amount, and a high shipping rate, so I bought in bulk (24 at $0.52 each). (If you would like to buy some but don’t want to place a large order, let me know, I’ve got more than a dozen left over).
I also purchased some paper fasteners with small heads and long shanks and some flat washers from the Tim Holtz Idea-ology line (can be found with scrapbooking supplies or on ebay).

I set the label holder where I wanted it on the spine of the magazine file. Using a sharp object (like an awl, or points of small scissors) I punctured through the screwhole of the label holder, through the fabric and cardboard of the magazine file.

I pushed the paper fastener through the hole, slid a washer over the prongs on the inside of the magazine file, and then spread the prongs apart to secure. The washers prevent the hole from enlarging with use.

Repeat for other screwholes.

All ready for the labels!
Next time: File drawers for your Expedit
Okay, so I wanted some magazine files for my IKEA Expedit unit.
The magazine files I saw in stores were either plain cardboard or very expensive. Since I wanted 6, I didn’t want to spend $20 on each.
My solution was to buy two packs of the corrugated cardboard FLYT magazine files from Ikea. The files come in packs of 5, and each pack is only $1.99.
I assembled the magazine files, and away I went:

1. Cut out a piece of card board the same size as the base of the magazine file.

2. Insert cardboard into bottom of magazine file–this will keep the bottom from collapsing.

3. Trace around the magazine file on a long sheet of paper (I used parchment paper from the roll). Add an additional inch to all sides. Cut out to form your pattern.

4. Lay pattern on fabric and cut out. I had enough for two magazine files with just a 1/2 yard of fabric.

5. Wrap the fabric around the magazine file to center it. There should be 1 inch of extra fabric around the outside of the magazine file.

6. Carefully unwrap the magazine file, marking where the corners of the magazine file spine hit the fabric.

7. Apply glue to the long edges of the magazine file. I used fabric glue.

8. Place spine of magazine file onto fabric aligning with the marks you made earlier. Then apply glue to the left and right edges of the short side of the magazine file.

9. Pull fabric around sides of magazine file.

10. Pull fabric over edge.

11. Fold other end of fabric so that the folded edge meets the corner of the magazine box.

12. Glue down folded edge.

13. Turn magazine file over. Spread glue on the two long sides of the bottom of the magazine file. Fold fabric over into the glue.

14. Then affix fabric on the short ends.

15. This will create mitered corners. Keep pressure on the glued fabric until it adheres.

16. Clip curved edges of excess fabric. Clip almost all the way to edge of magazine file.

17. This image shows the clipped fabric.

18. Apply glue to the inside of the magazine file. Pull fabric taut, and press clipped fabric into the glue.

19. The clips will fan open, hugging the curve.

20. Apply glue to the inside of the magazine file on the short edges.

21. Fold the excess fabric and press into glue.

22. You’re almost done now!

23. Use single fold bias tape to cover raw edges in the inside of the magazine file.

24. Apply glue to the bias tape.

25. Starting near an interior corner, apply bias tape to cover raw edges of fabric.

26. Because the tape is cut on the bias, you can easily manipulate it to follow the curves without puckering or folding.

27. When you reach your starting point, fold over end of bias tape and adhere over the tape where you started. I like to end in the corner.
Next time: Affixing label holders/finger pulls…

For small creatures such as we the vastness is bearable only through love.
—Carl Sagan